Nanite Tessellation
真的把幾何推出來:Nanite mesh 在 GPU 上細分。
- 在 mesh 上開啟 Nanite Support。
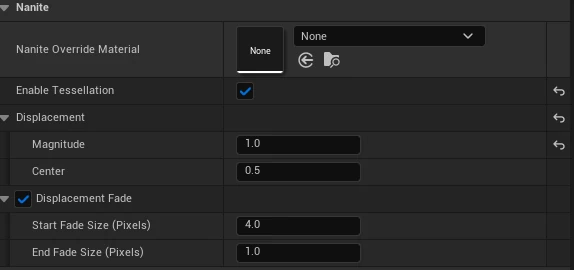
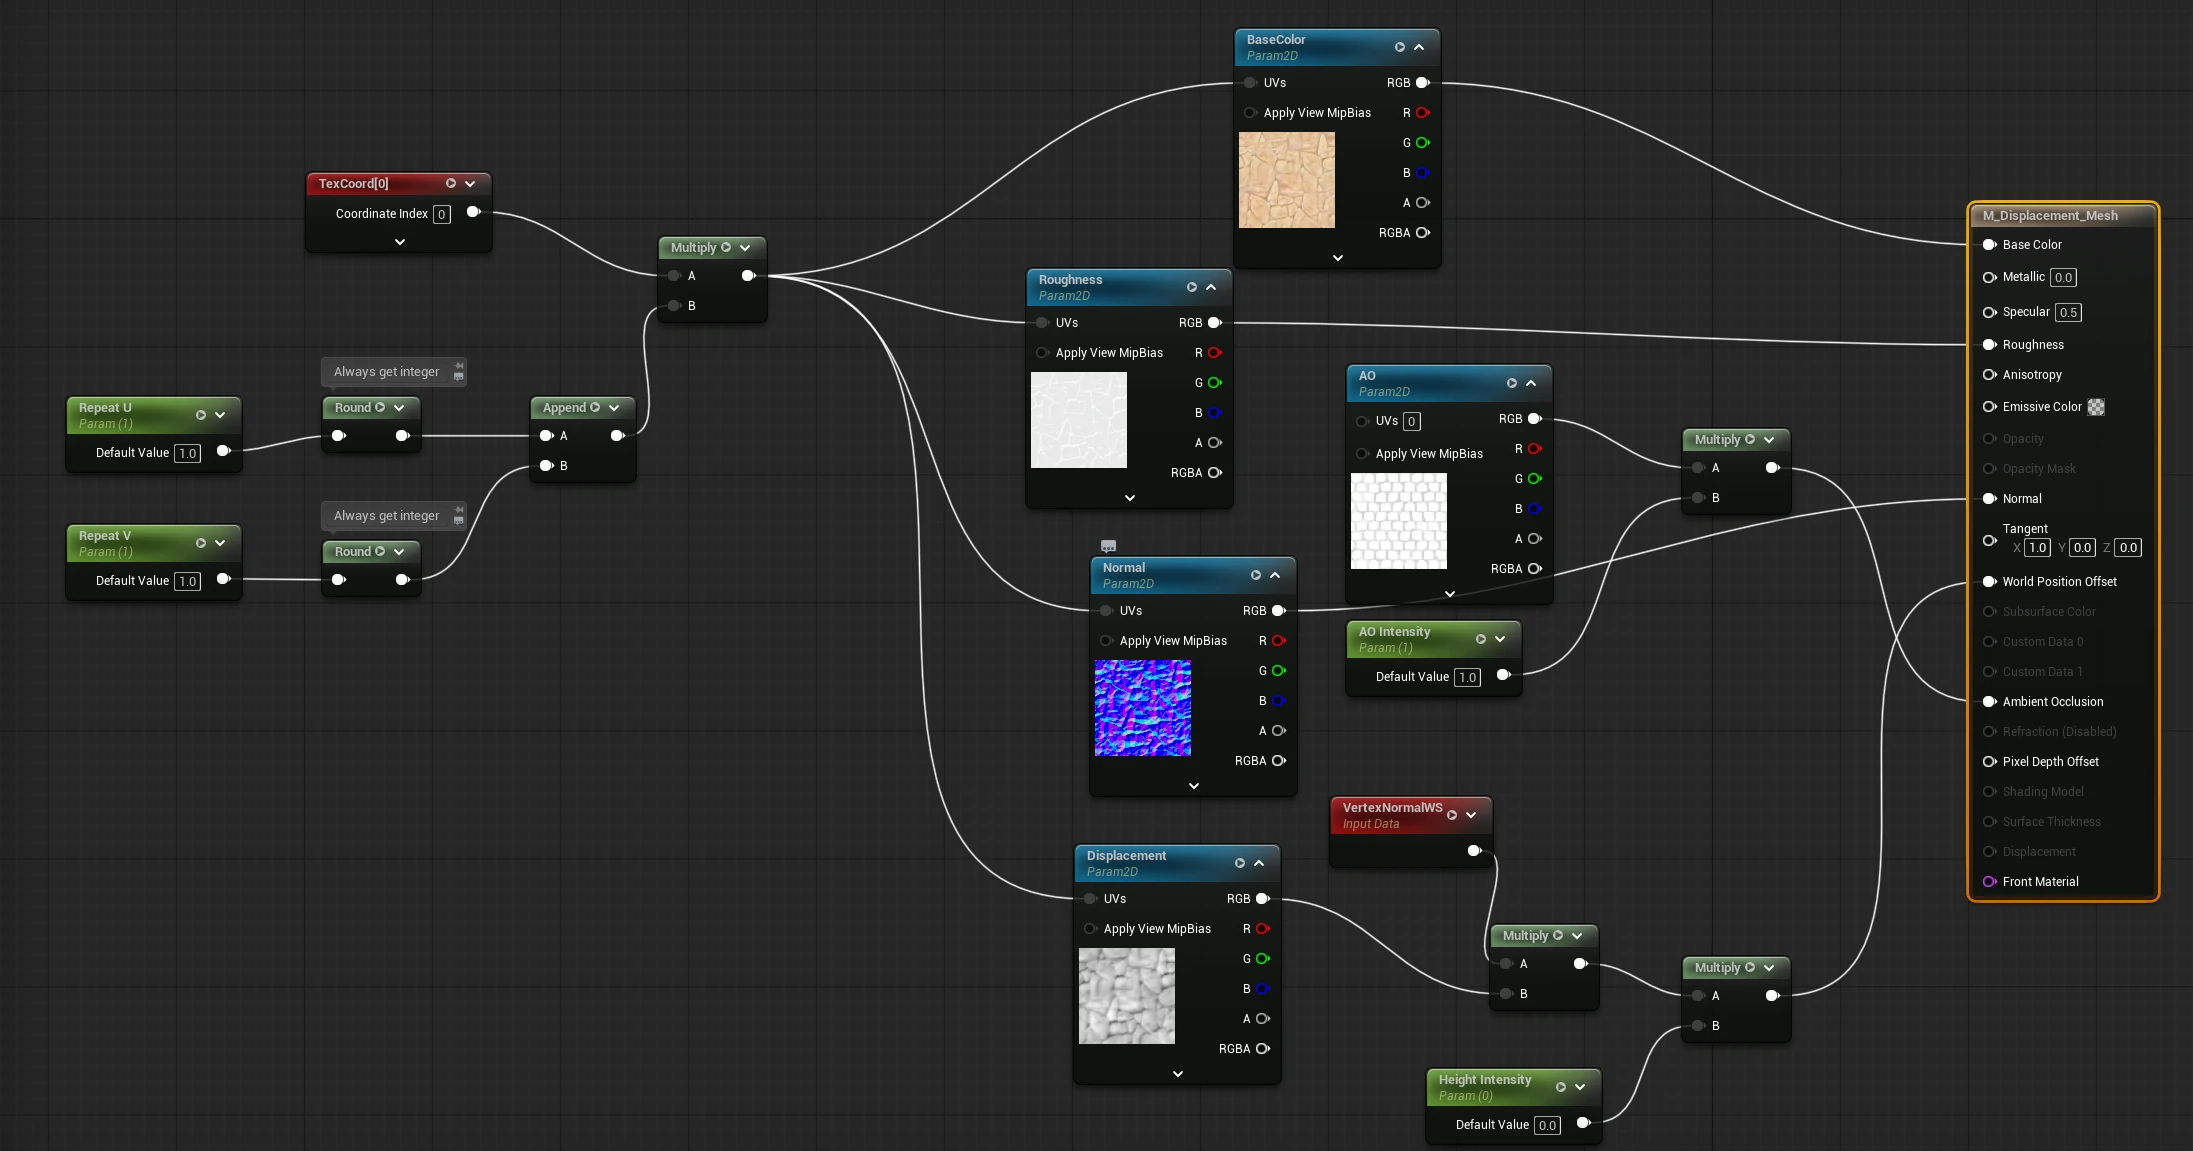
- 在材質的 Nanite 設定裡勾選 Enable Tessellation。
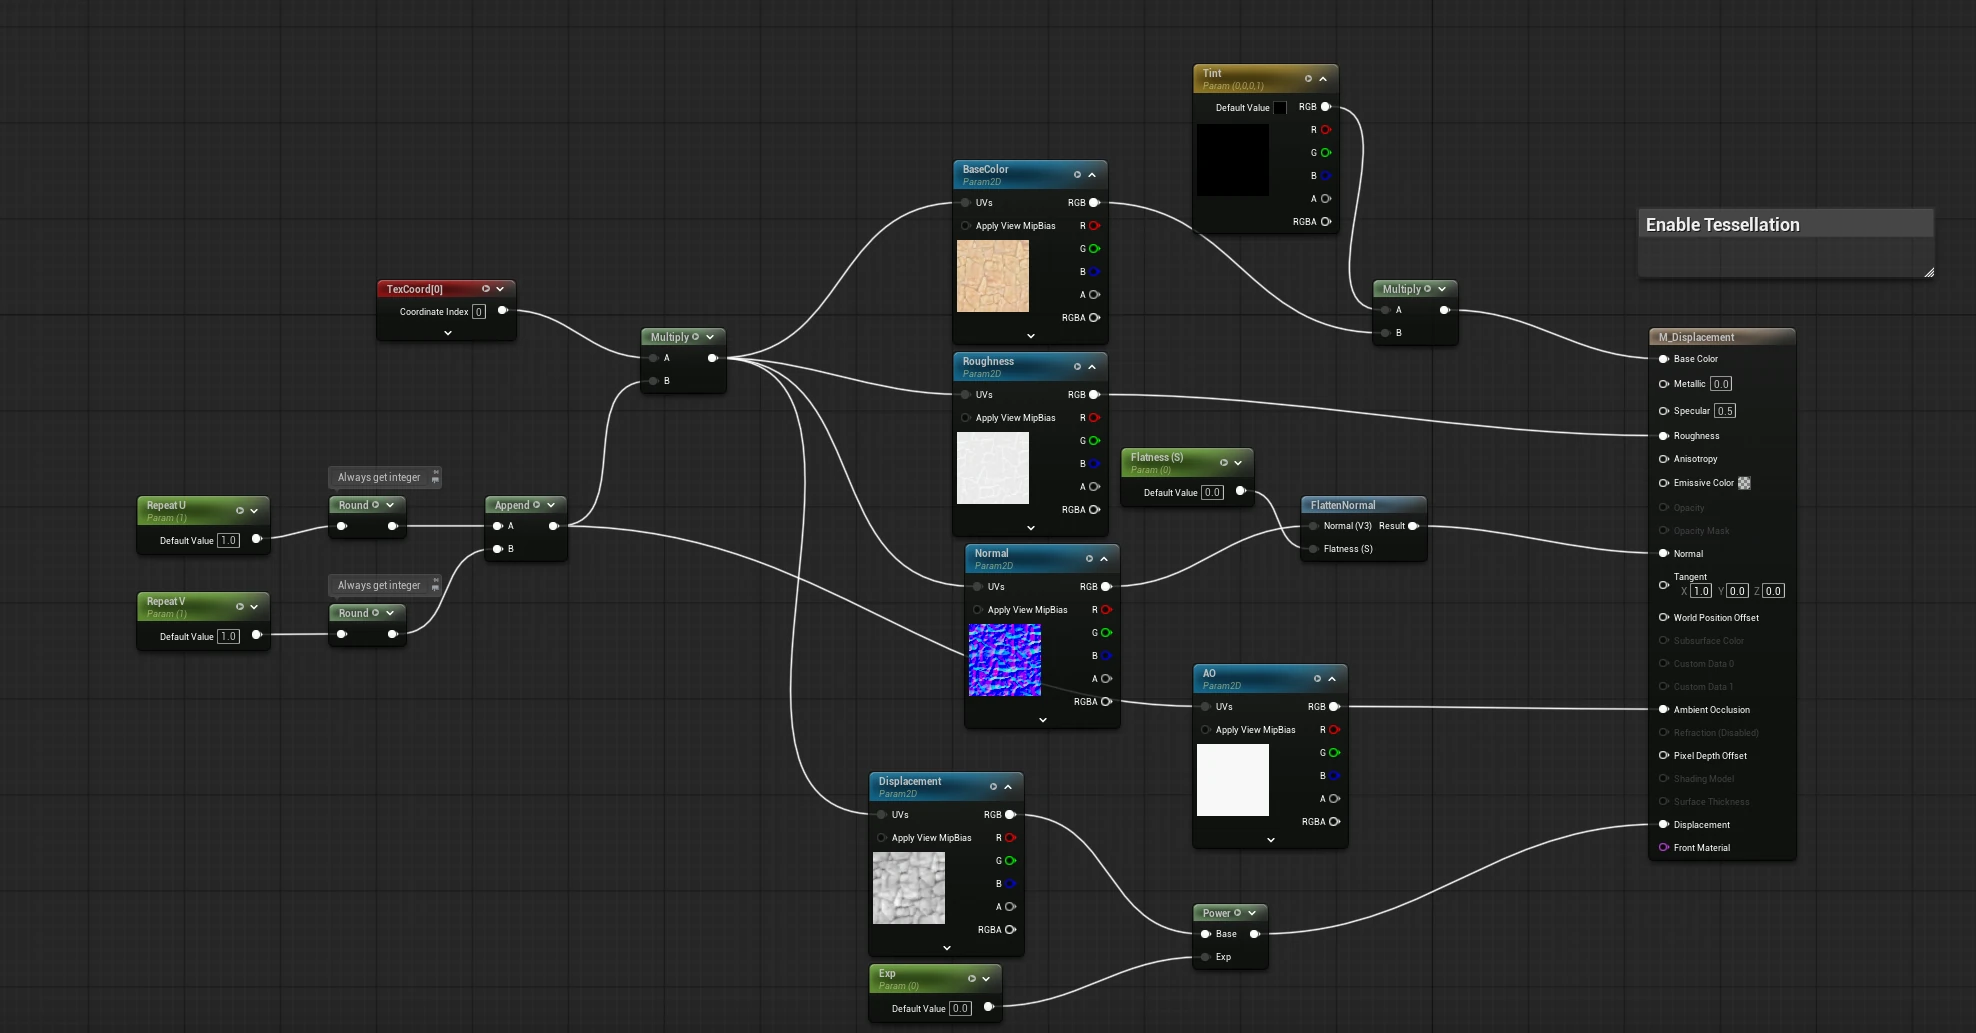
- 把高度貼圖接到 Displacement,用 Magnitude(Center 設 0.5)調整凸起的高度。
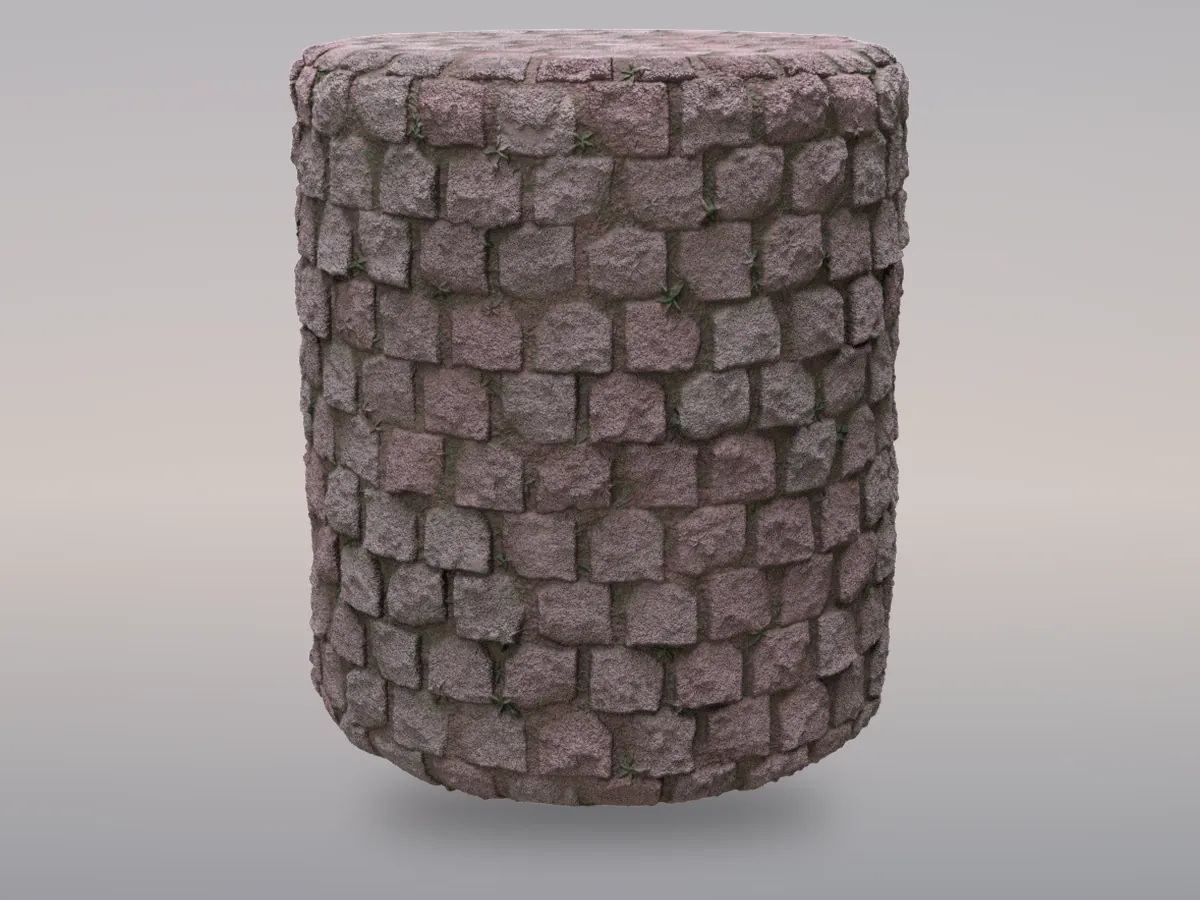
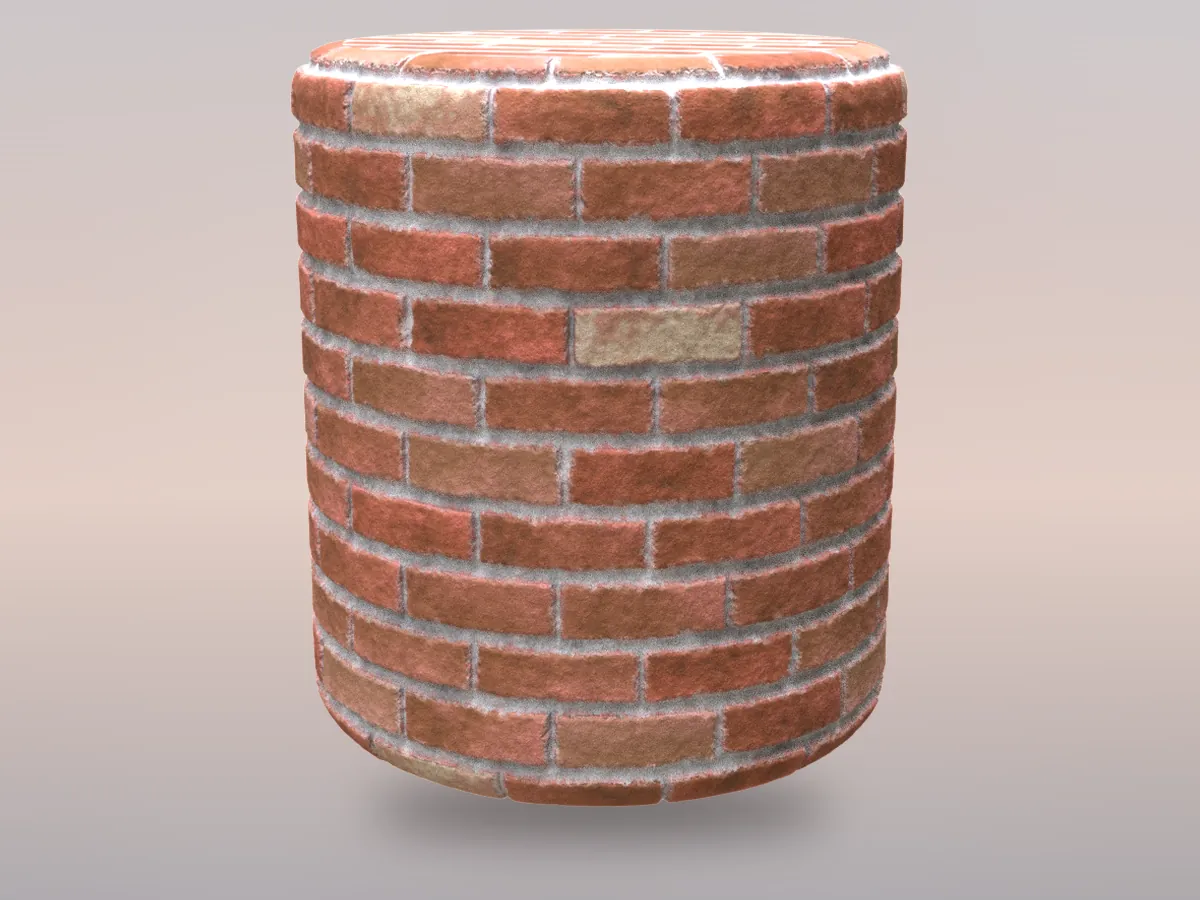
四個在 Substance Designer 中完全程序化製作的材質。每一個形狀、顏色和磨損都由開放的參數控制,同一個節點圖就能變出一整組不同的外觀,再把貼圖帶進 Unreal Engine,用真實的幾何位移呈現。
拖動一個滑桿,整個材質就會重新生成:石塊數量、錯位、灰縫寬度、邊緣磨損和顏色,一格一格渲染出來。
選一個材質、選一個參數,然後拖動滑桿。每個位置都是用那個數值真實渲染出來的圓角圓柱,高度貼圖也會跟著改變,所以凹凸會一起變化。
Drag the slider
Drag the slider
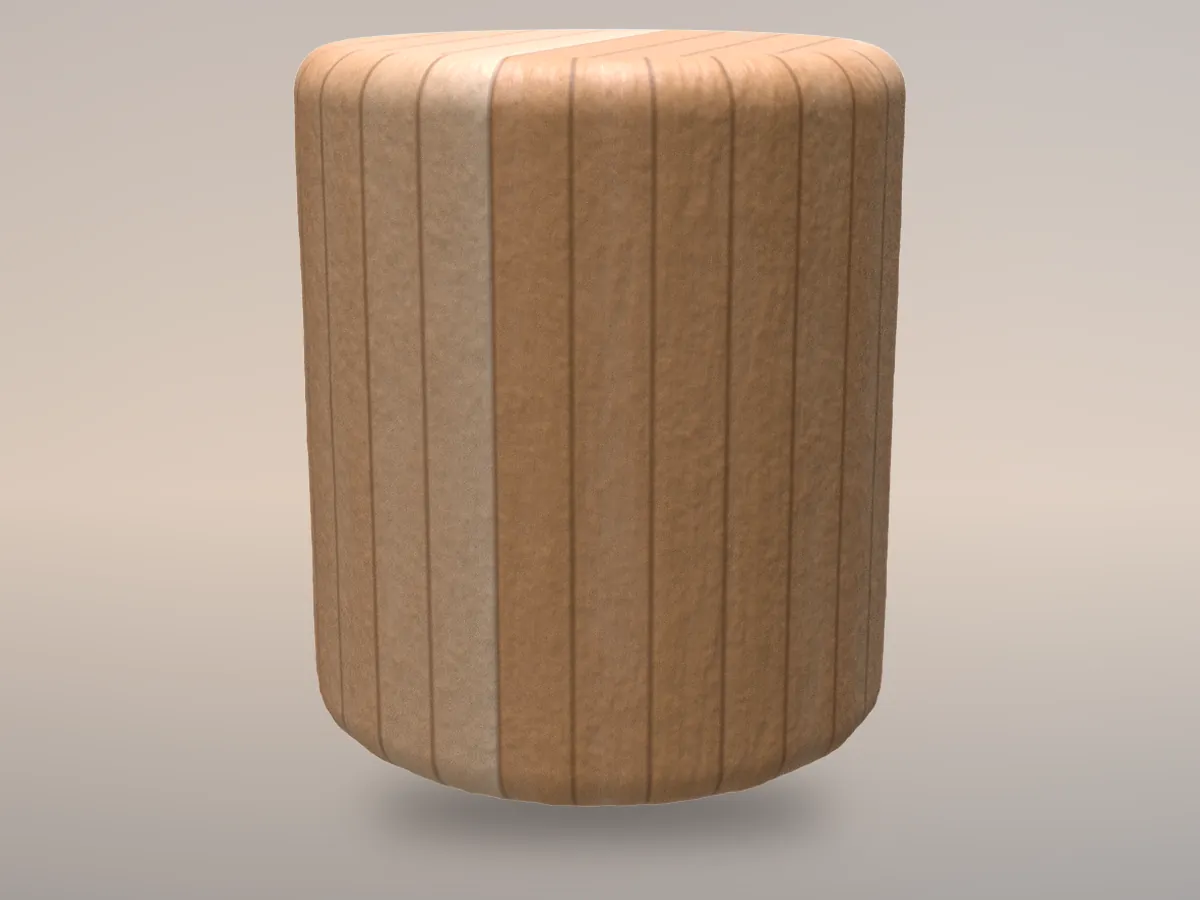
Drag the slider
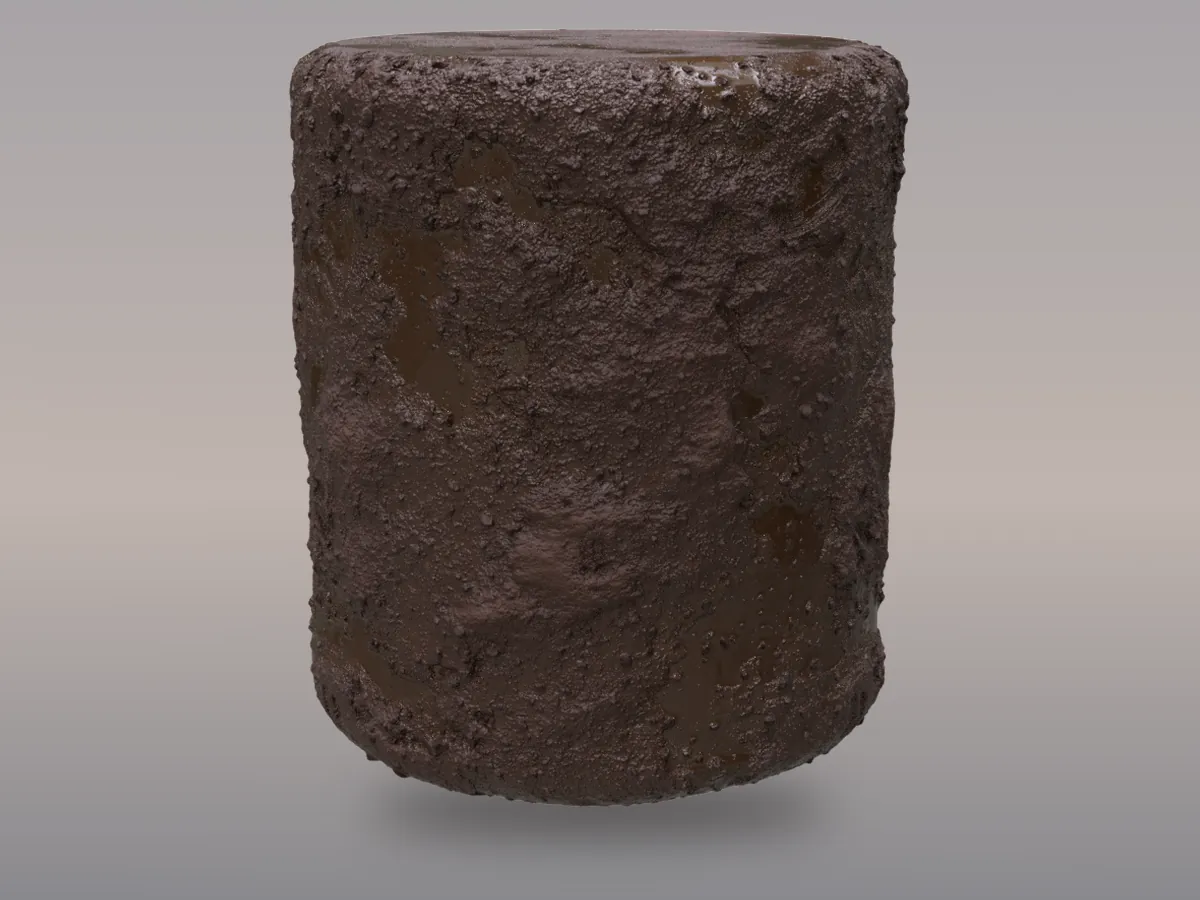
Drag the slider
Substance Designer 的 Iray 渲染,旁邊是 Base Color、Roughness、Height、Normal 和 AO 貼圖。
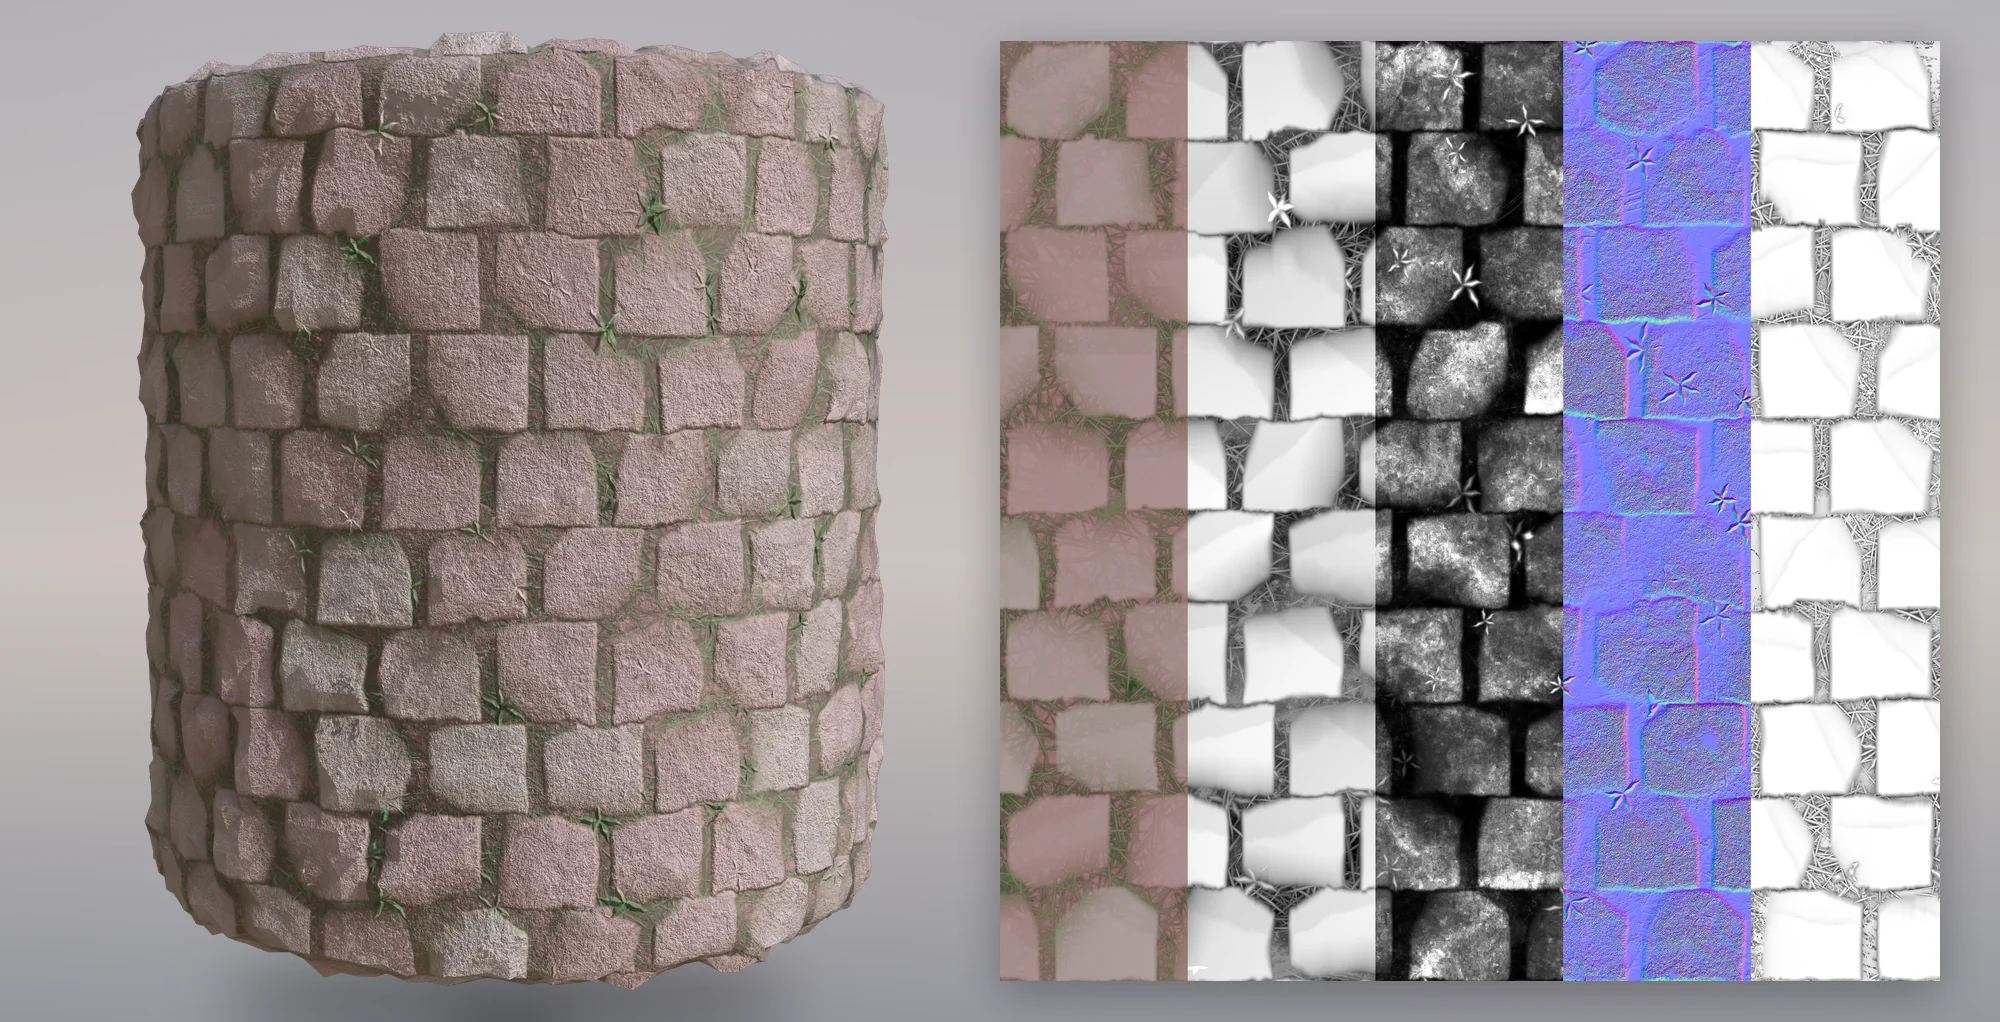
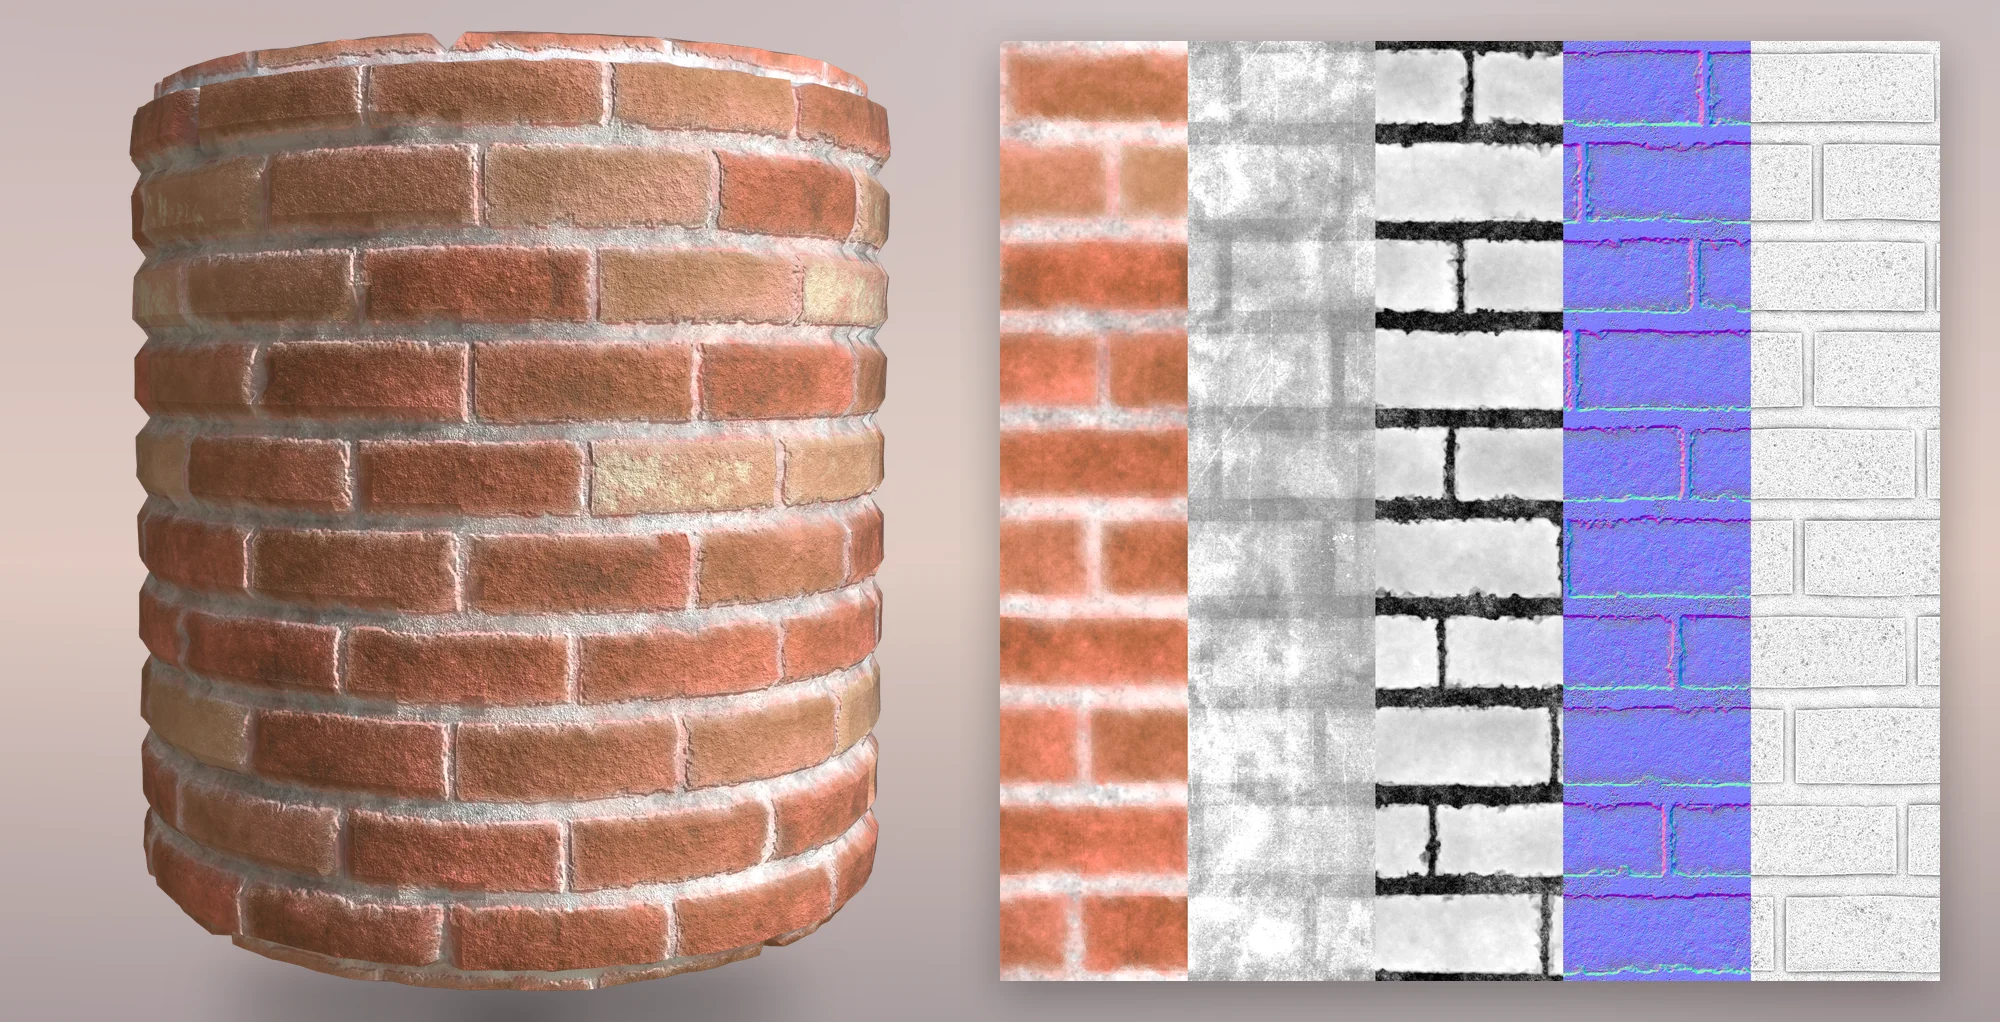
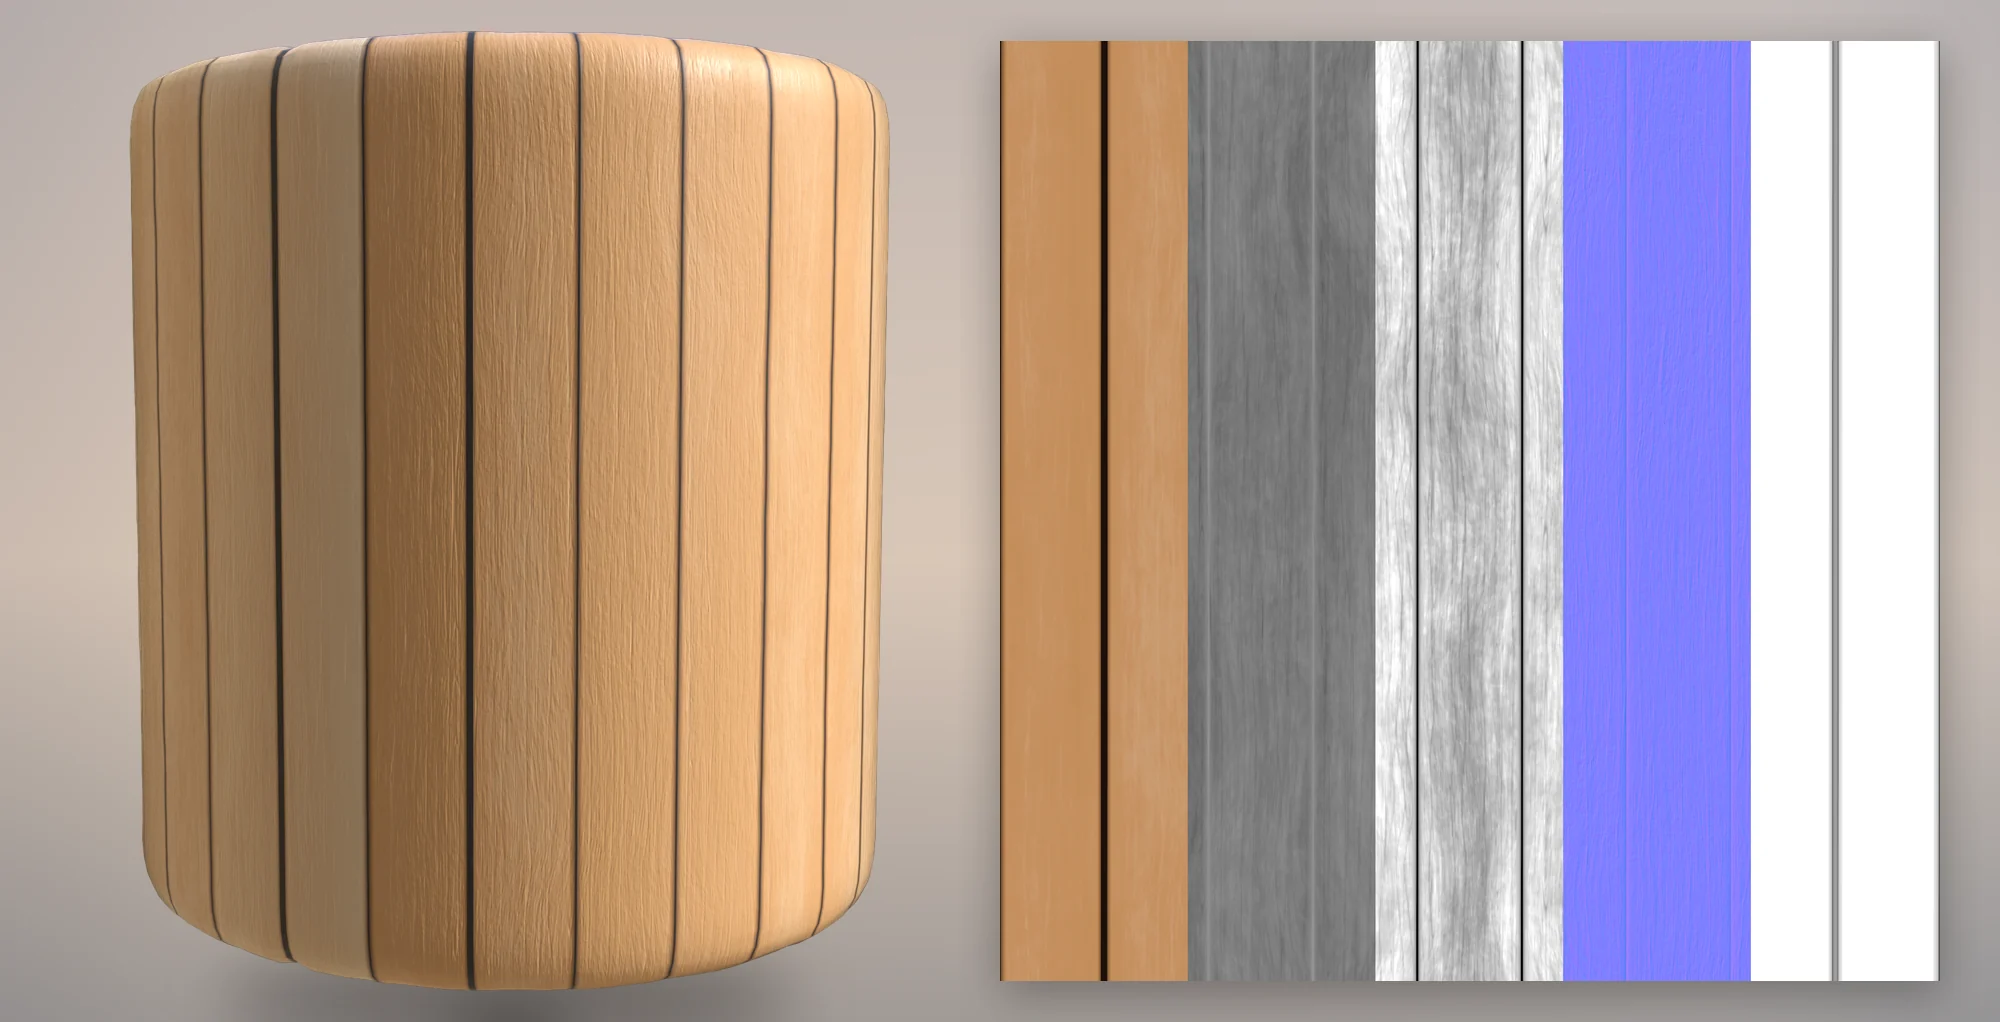
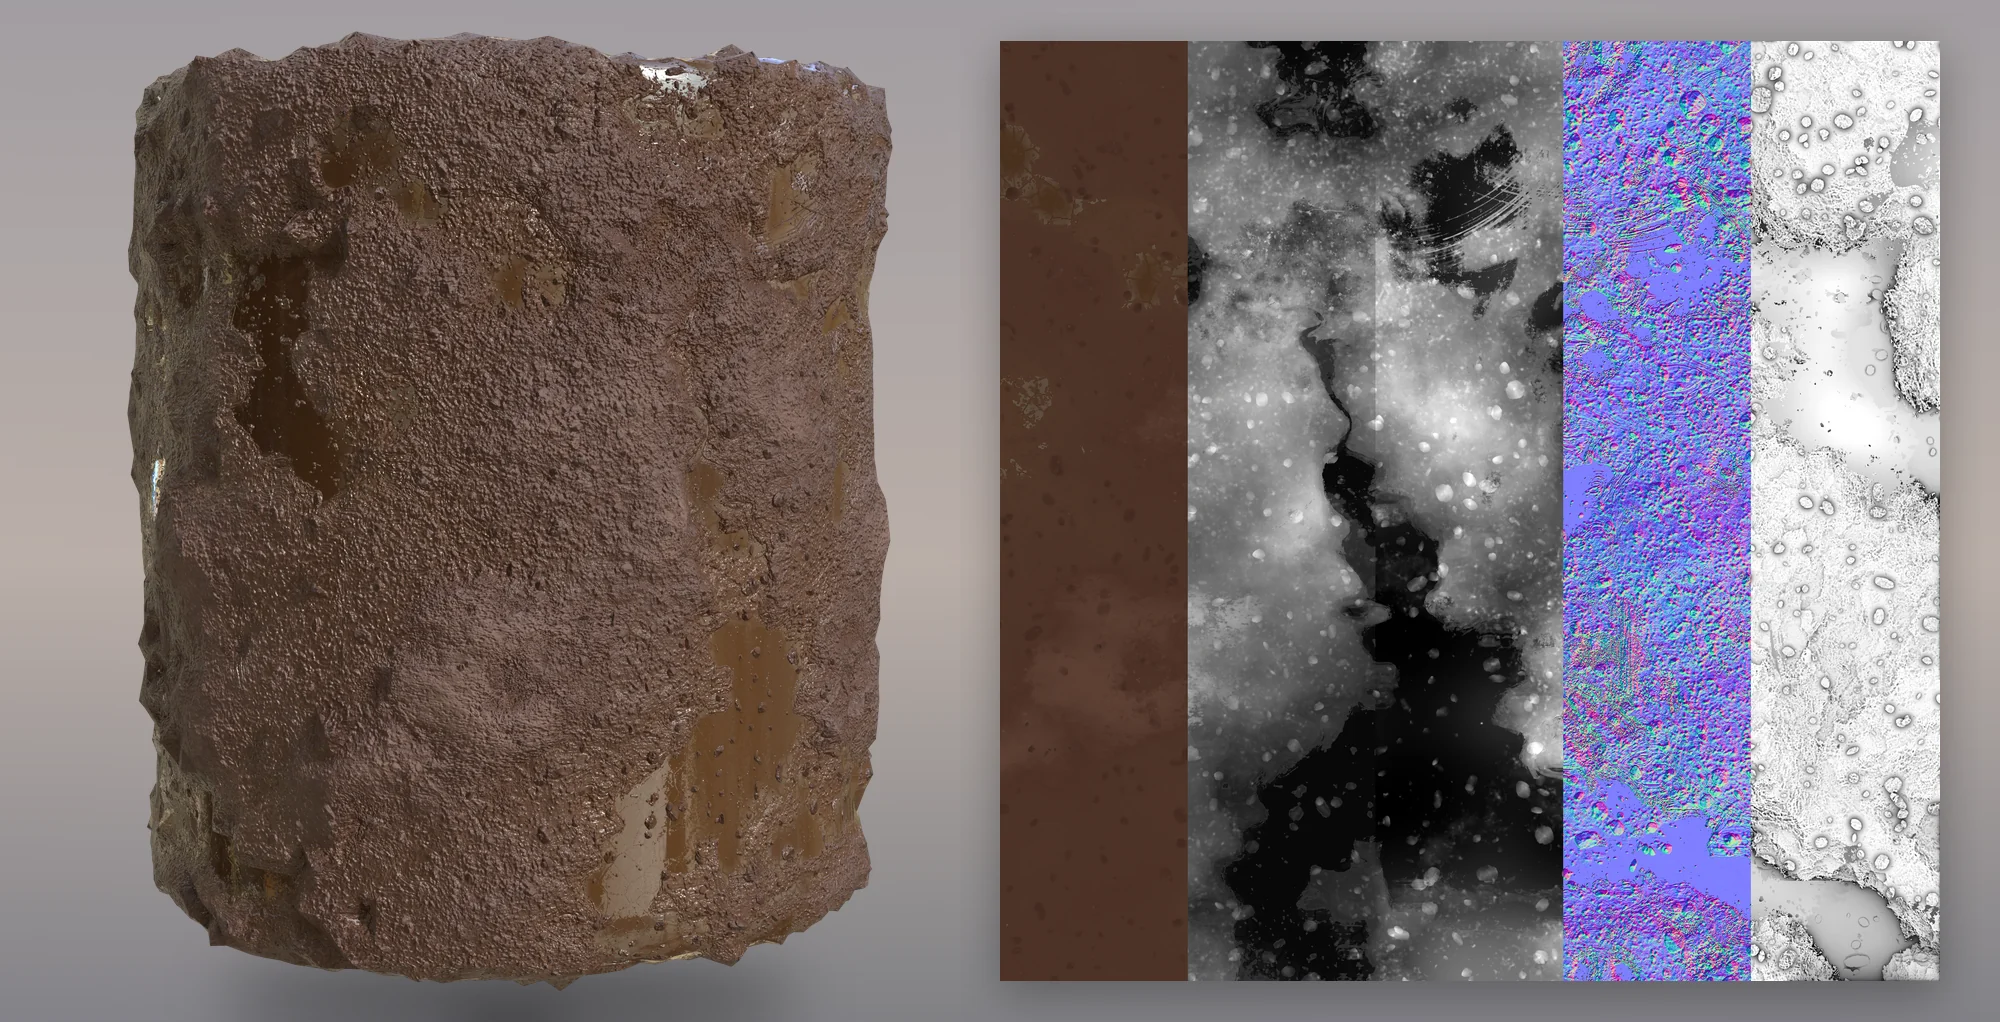
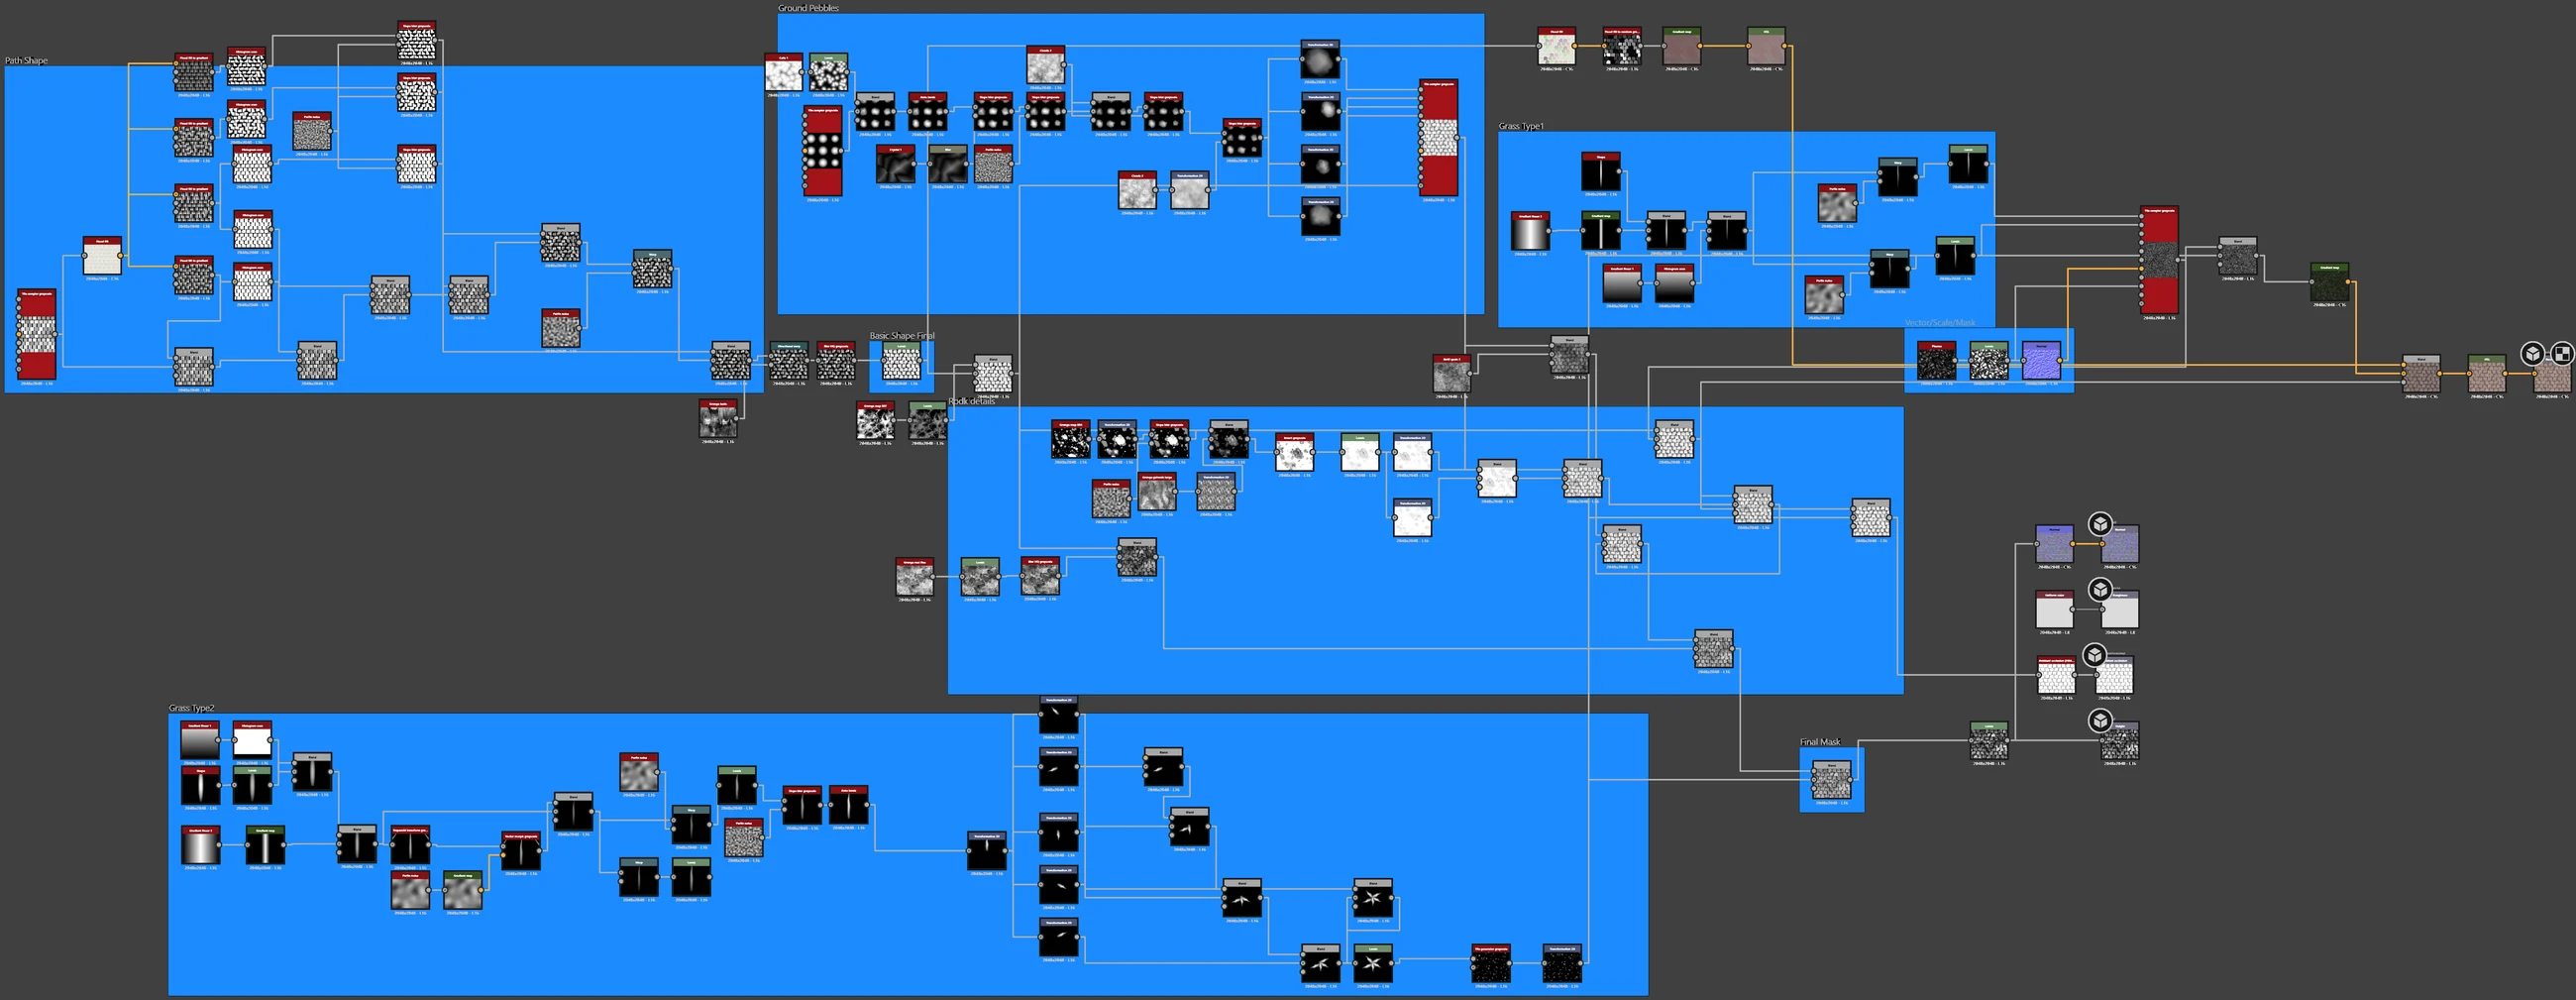
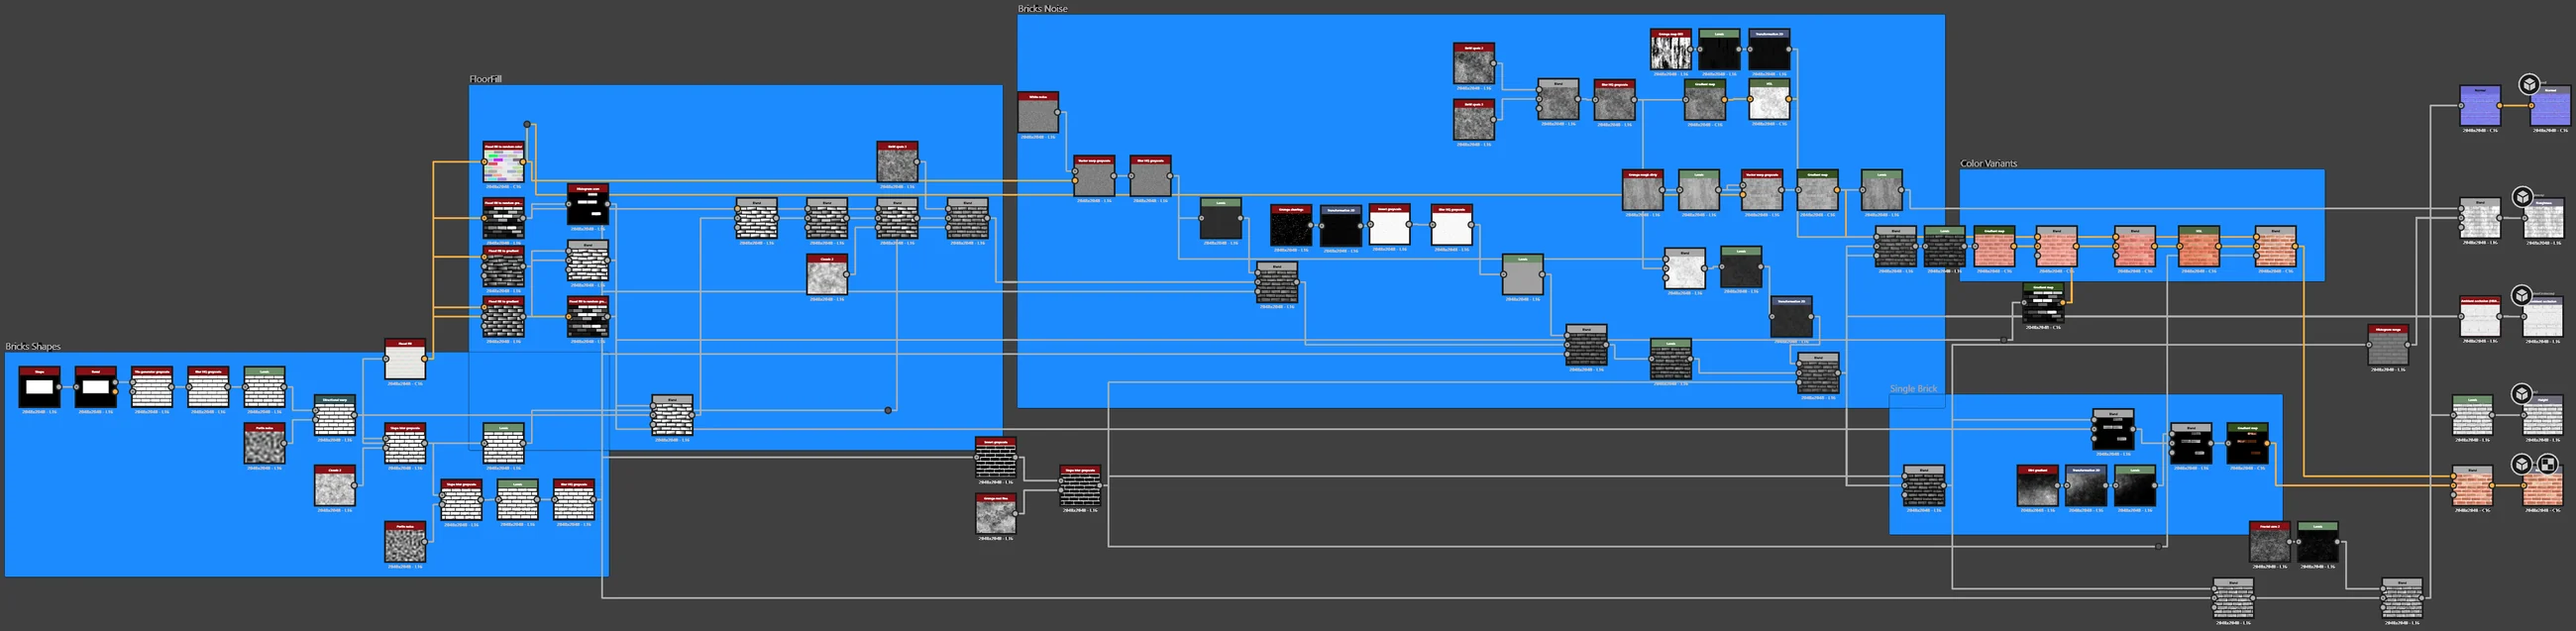
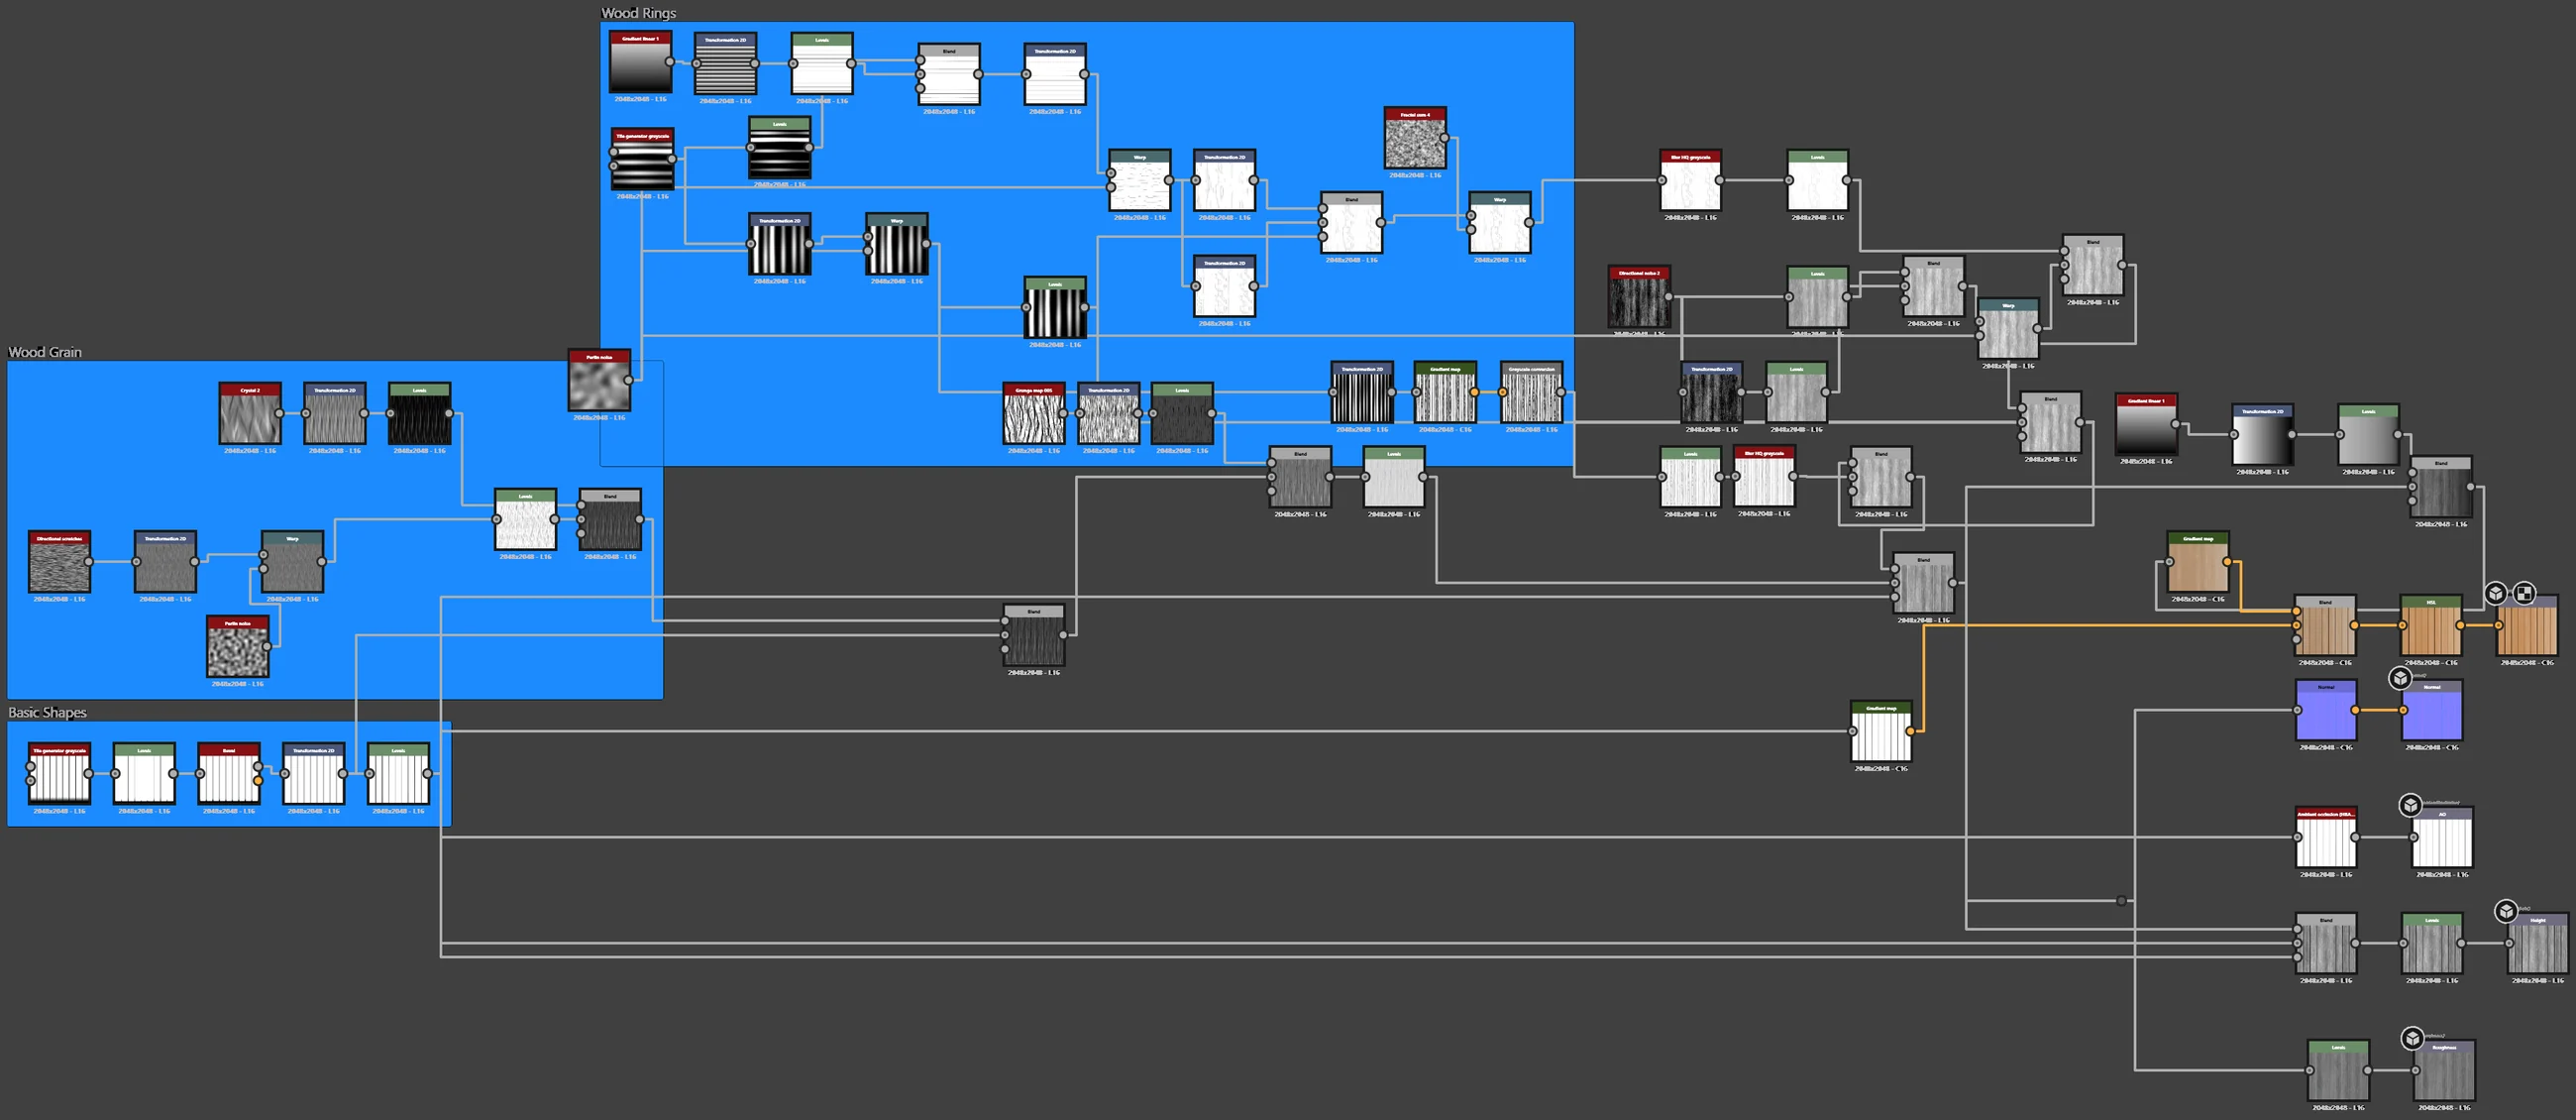
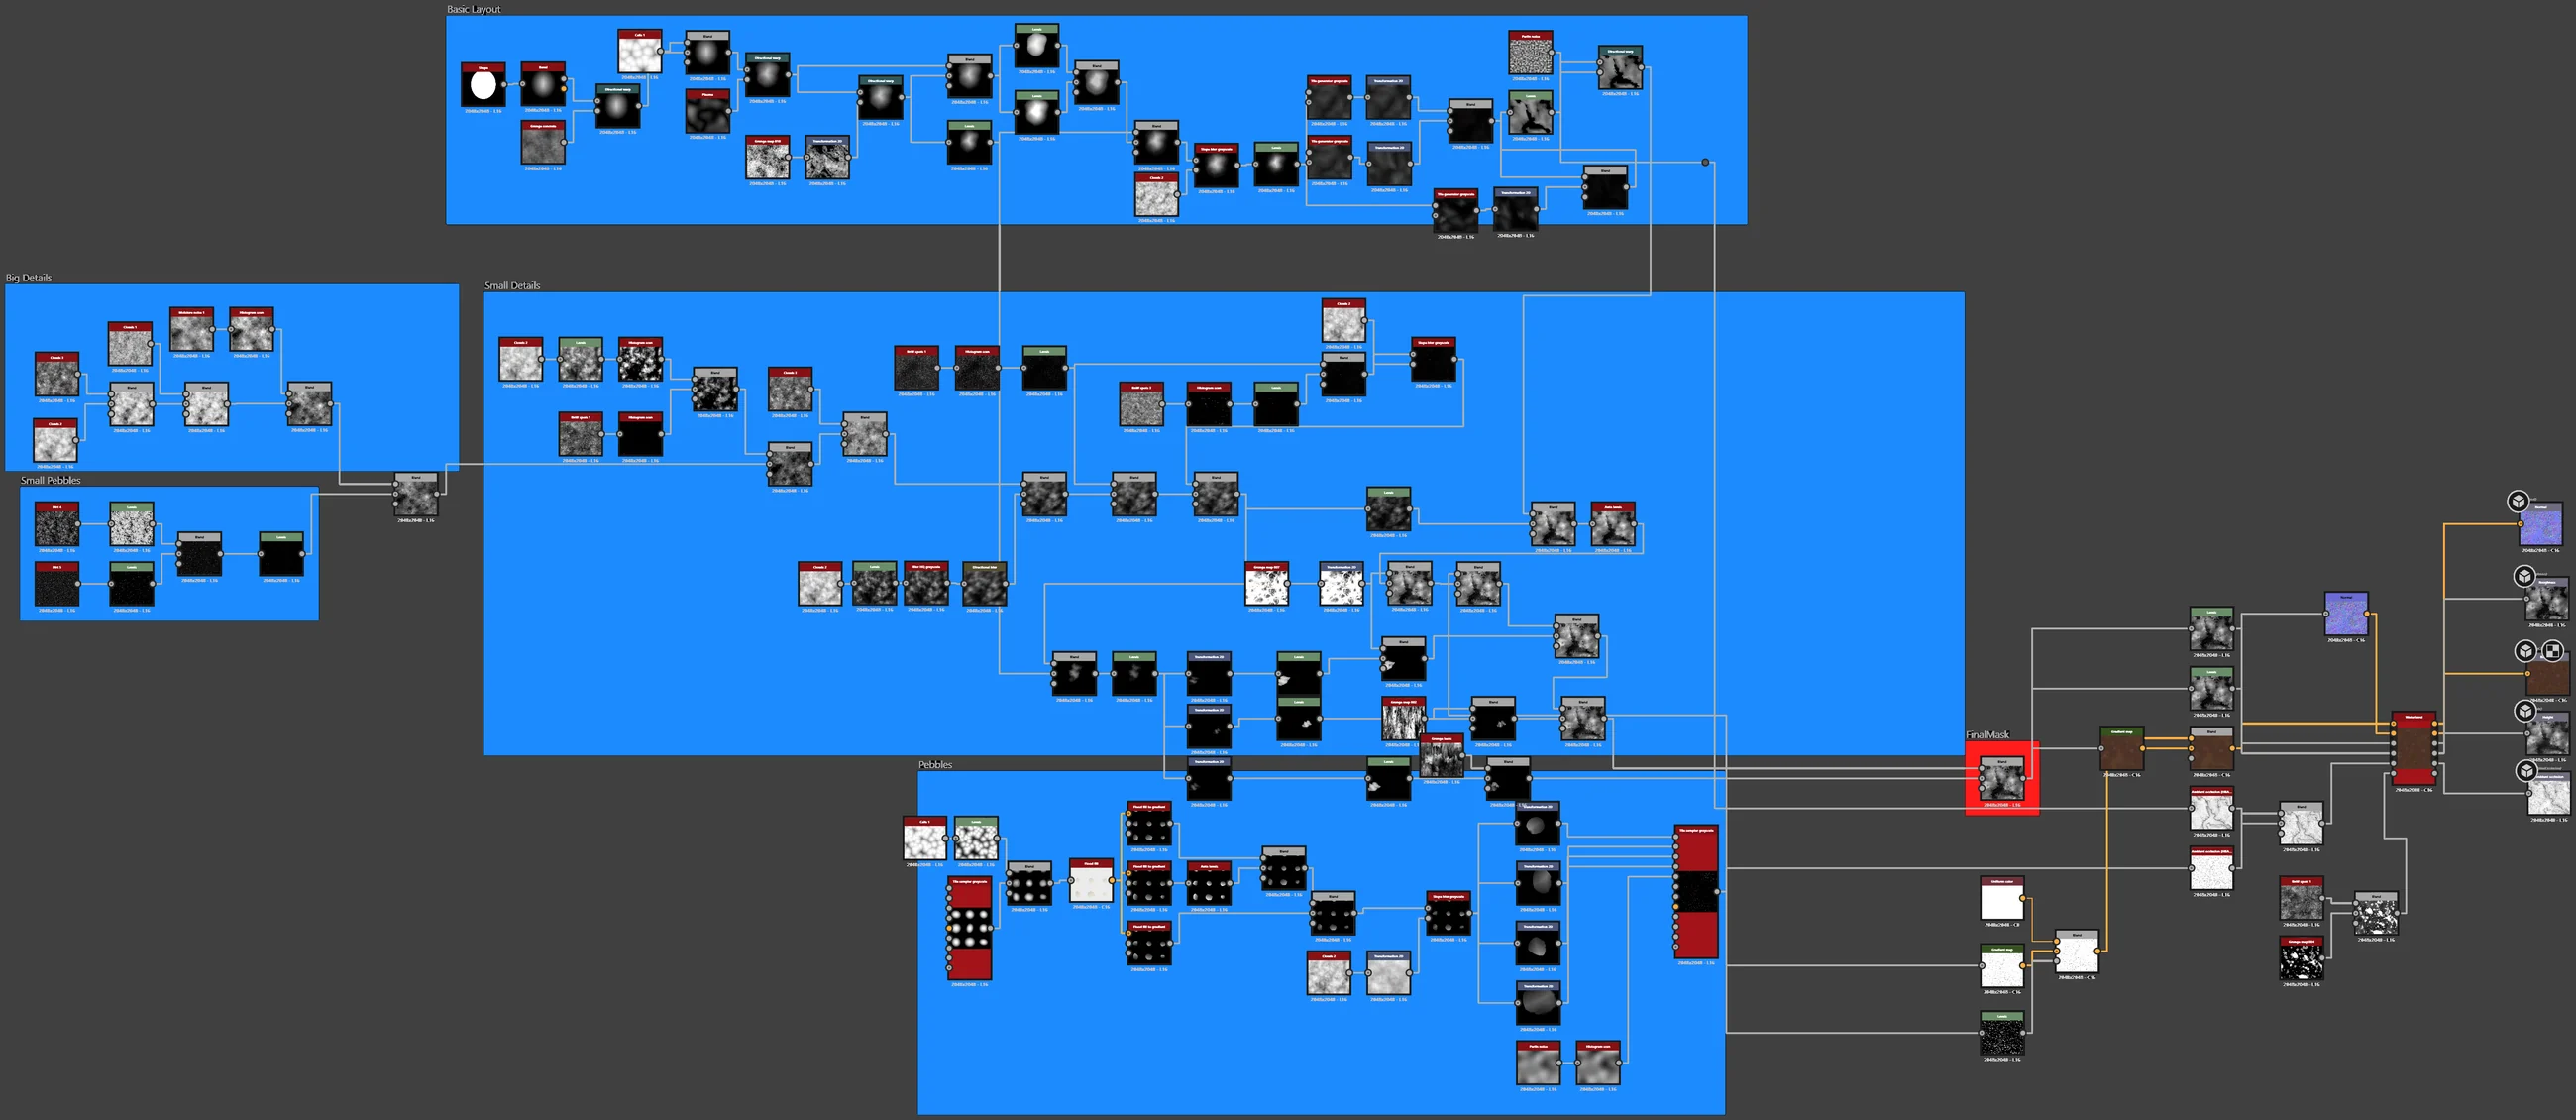
四個材質共用一個主材質,貼圖重複次數開放成 Repeat U/V,所有貼圖都接進同一個節點圖。為了做出真實的凹凸,我試了兩種用高度貼圖推動幾何的方法:
真的把幾何推出來:Nanite mesh 在 GPU 上細分。
直接移動頂點:做法簡單,但 mesh 要夠密。
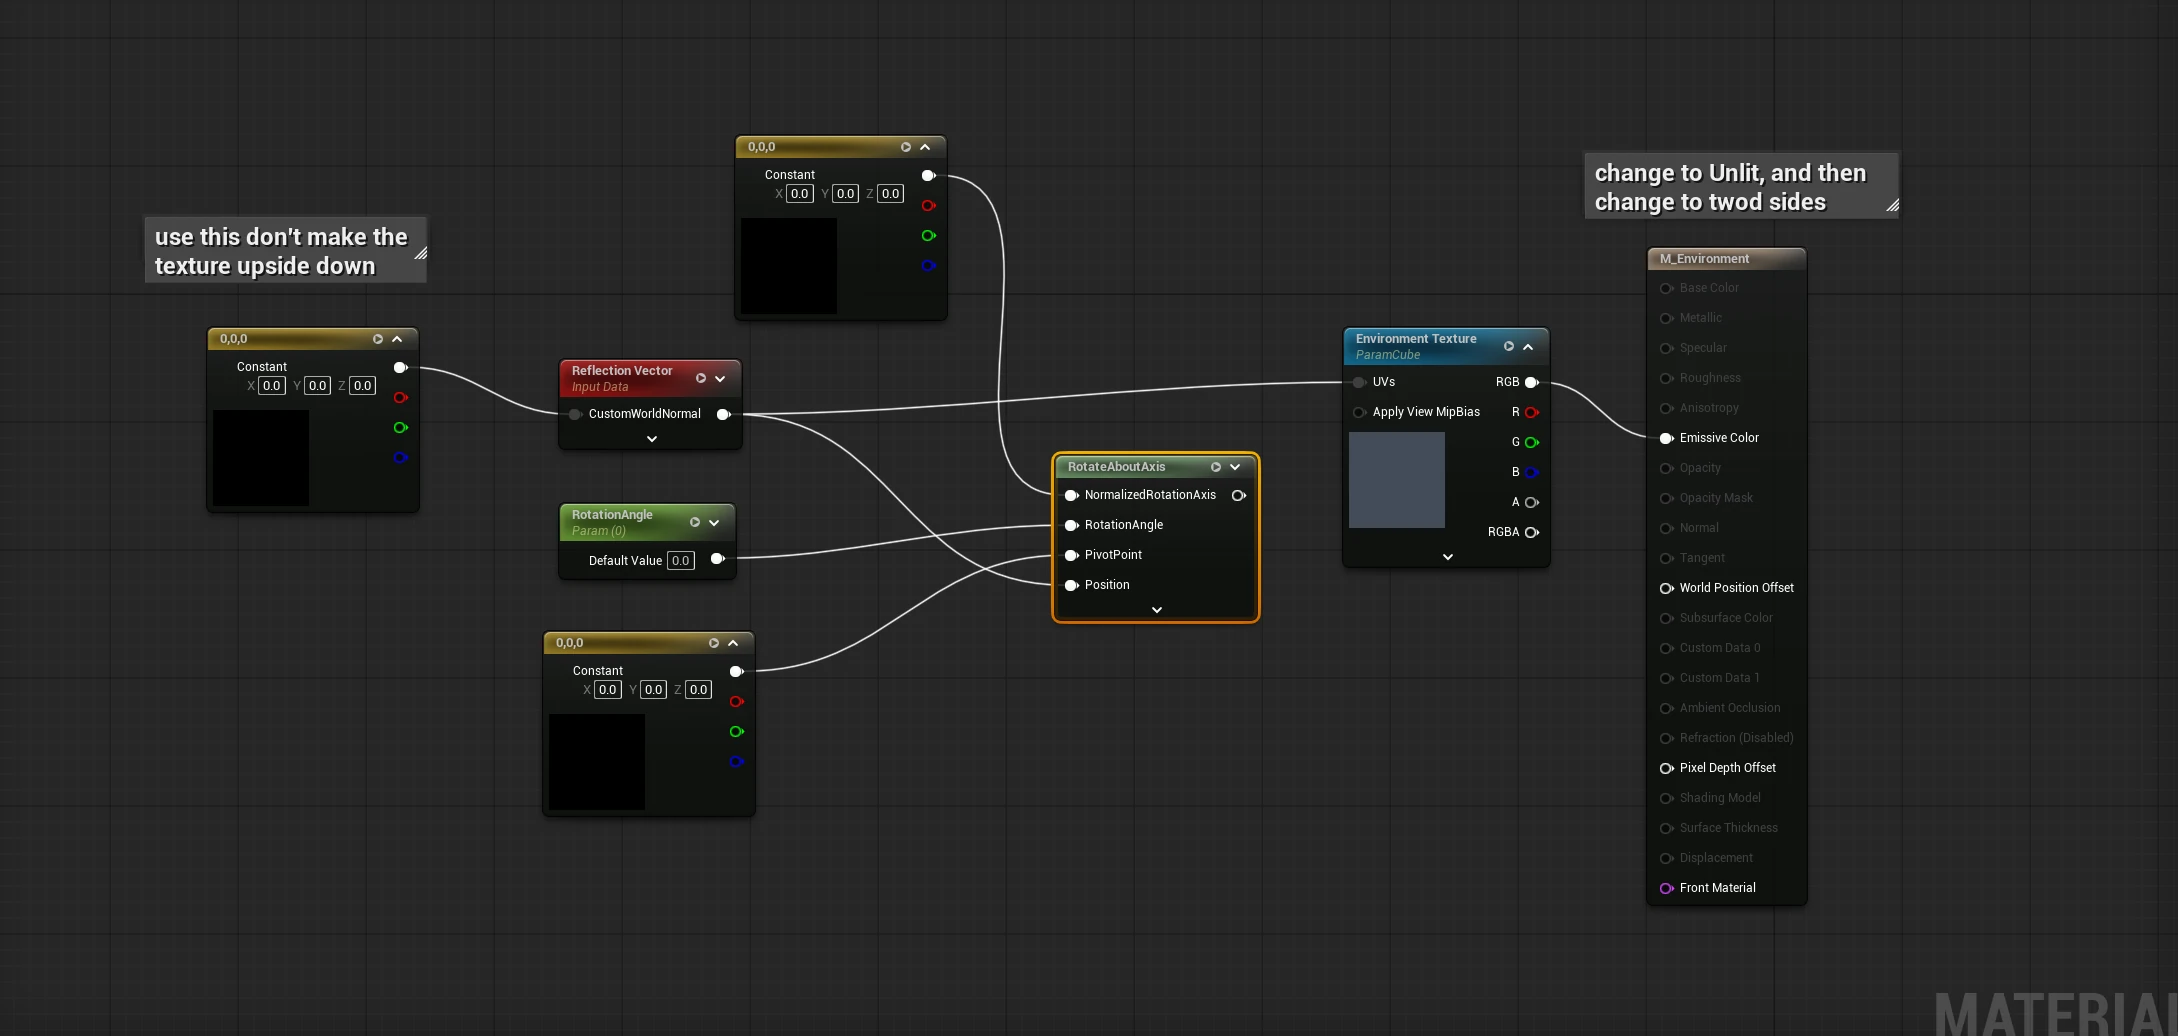
建立一個球體和環境材質:Reflection Vector 接 Rotate About Axis,帶動 HDRI 貼圖接到 Emissive,材質設成 Unlit 和 Two Sided。

把 Sky Light 的 Source Type 改成 SLS Specified Cubemap,Cubemap 換成你選的 HDR 貼圖。
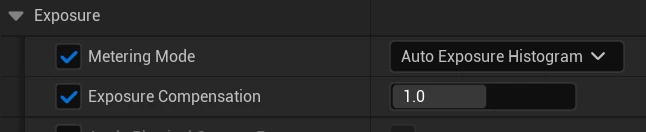
加一個 Post Process Volume,設定曝光。
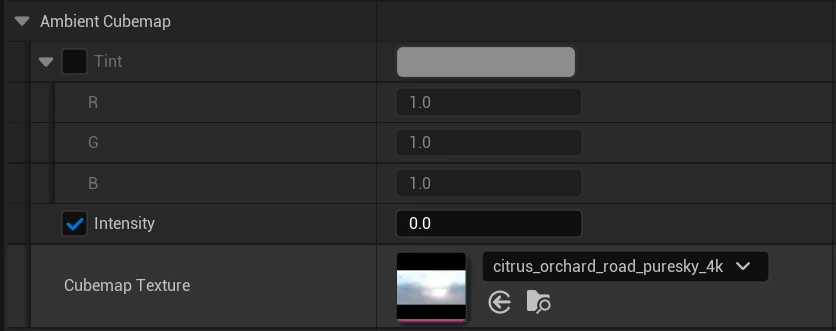
在同一個 Volume 裡,把 HDRI 指定為 Ambient Cubemap。