EN繁简
← Unreal

Procedural Materials

Substance Designer → Unreal Engine

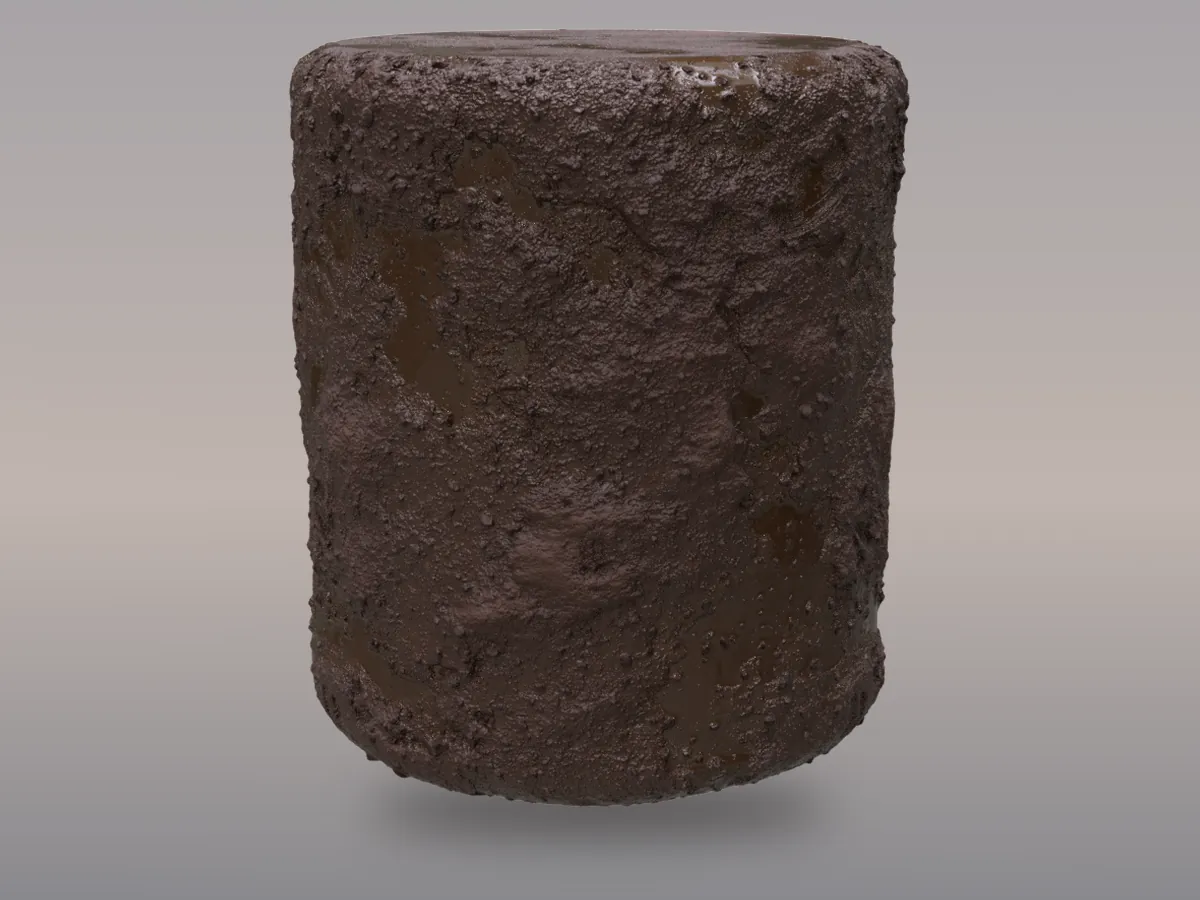
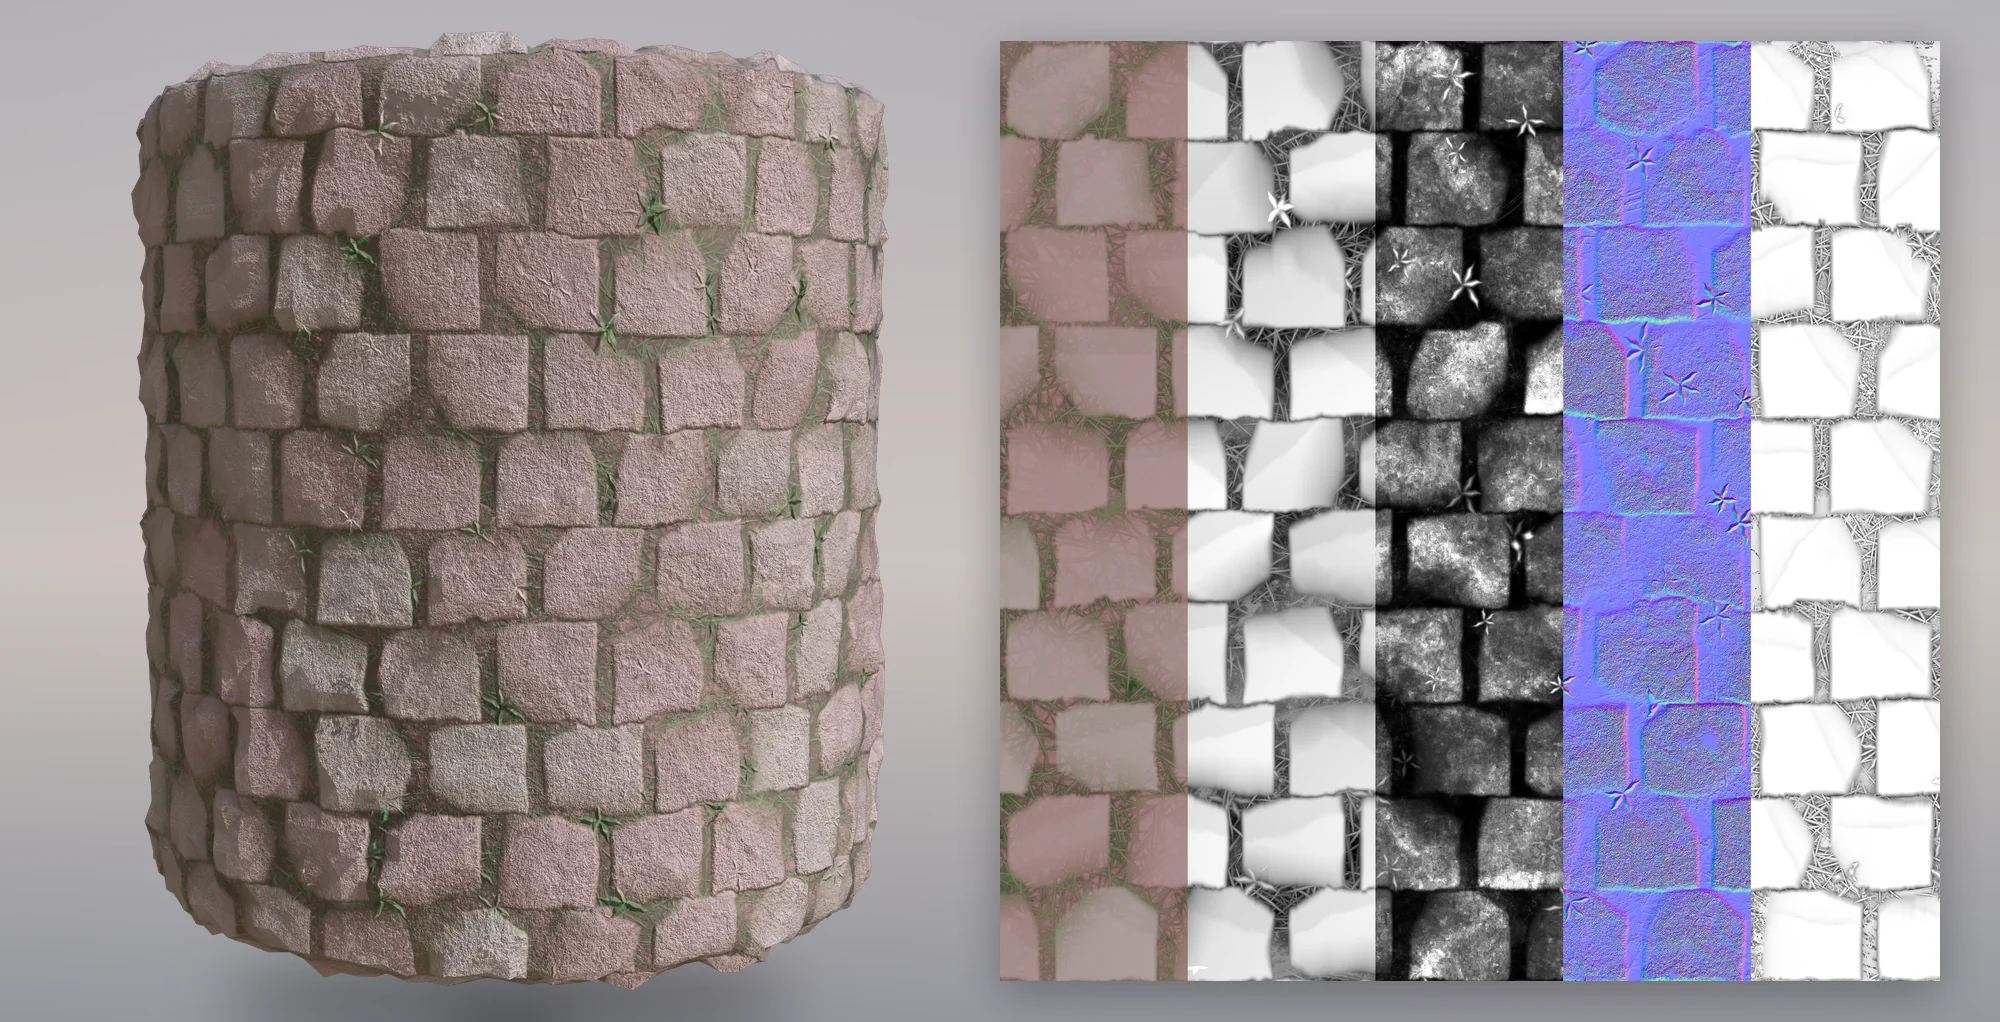
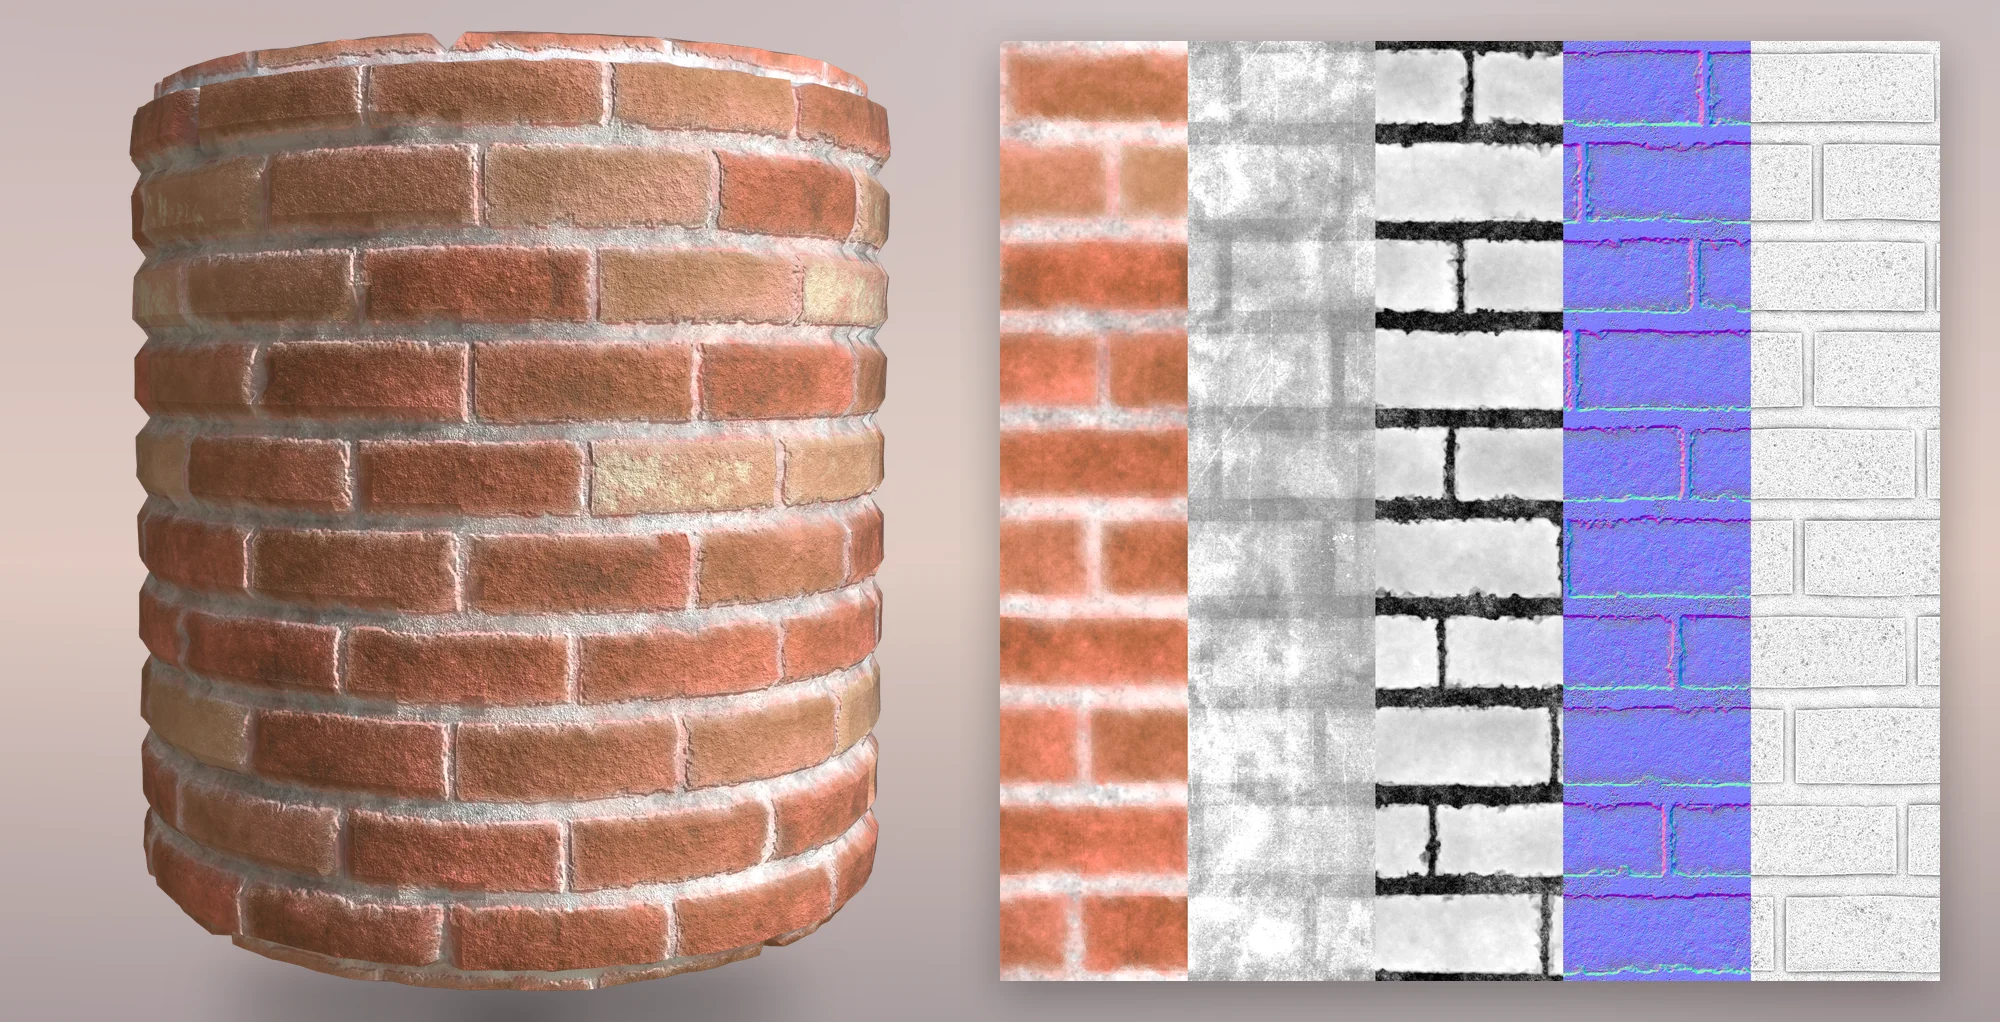
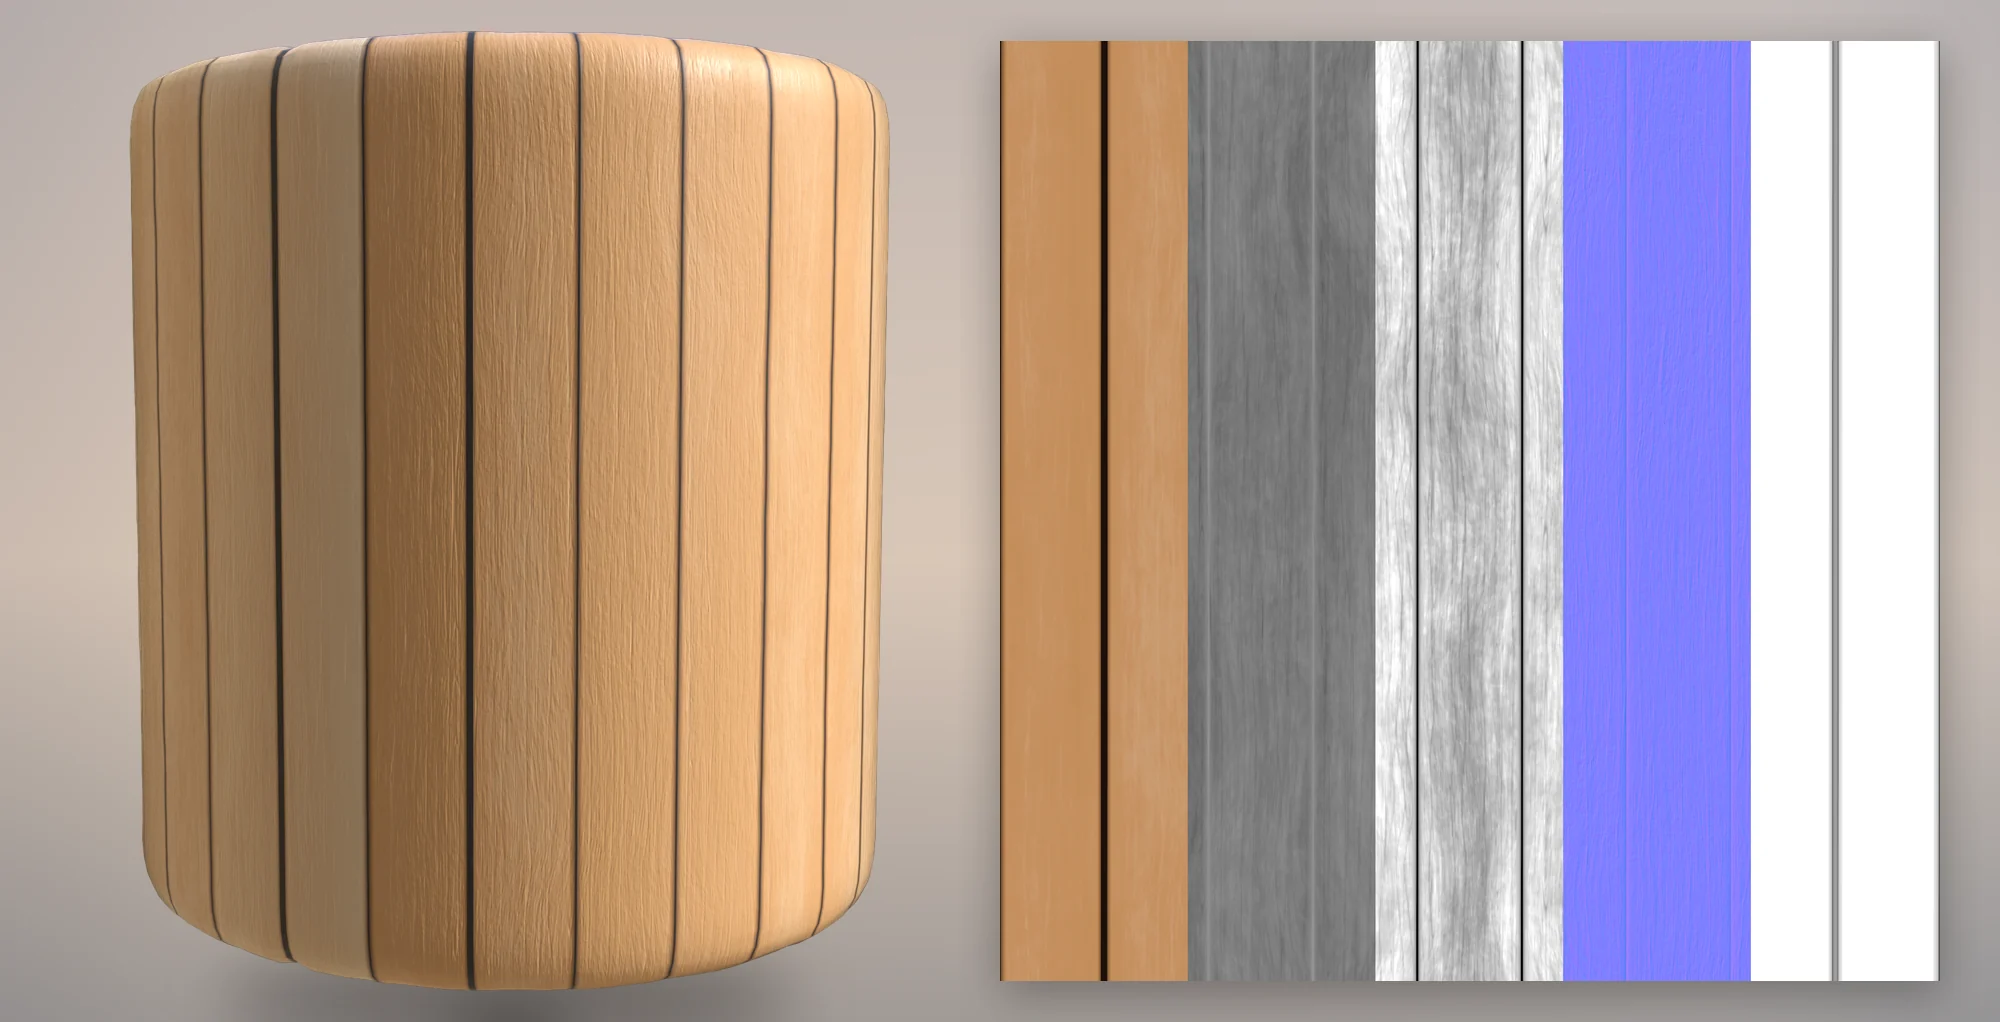
Four fully procedural materials built in Substance Designer. Every shape, colour and wear pass is driven by exposed parameters, so one graph can become a whole family of looks — then the maps go into Unreal Engine with real geometry displacement.

4Materials
43Exposed parameters
2048px Texture maps
5Maps per material

Parameters in Motion

Move one slider and the whole material rebuilds: stone count, row offset, mortar width, edge wear and colour, rendered frame by frame.

Try It Yourself

Pick a material, pick a parameter, and drag. Every position is a real render of the rounded cylinder with that value — the height map changes too, so the displacement follows.

Rock Path
Stone Count

Drag the slider

Bricks
Brick Count

Drag the slider

Wood
Plank Count

Drag the slider

Mud
Water Level

Drag the slider

Final Look

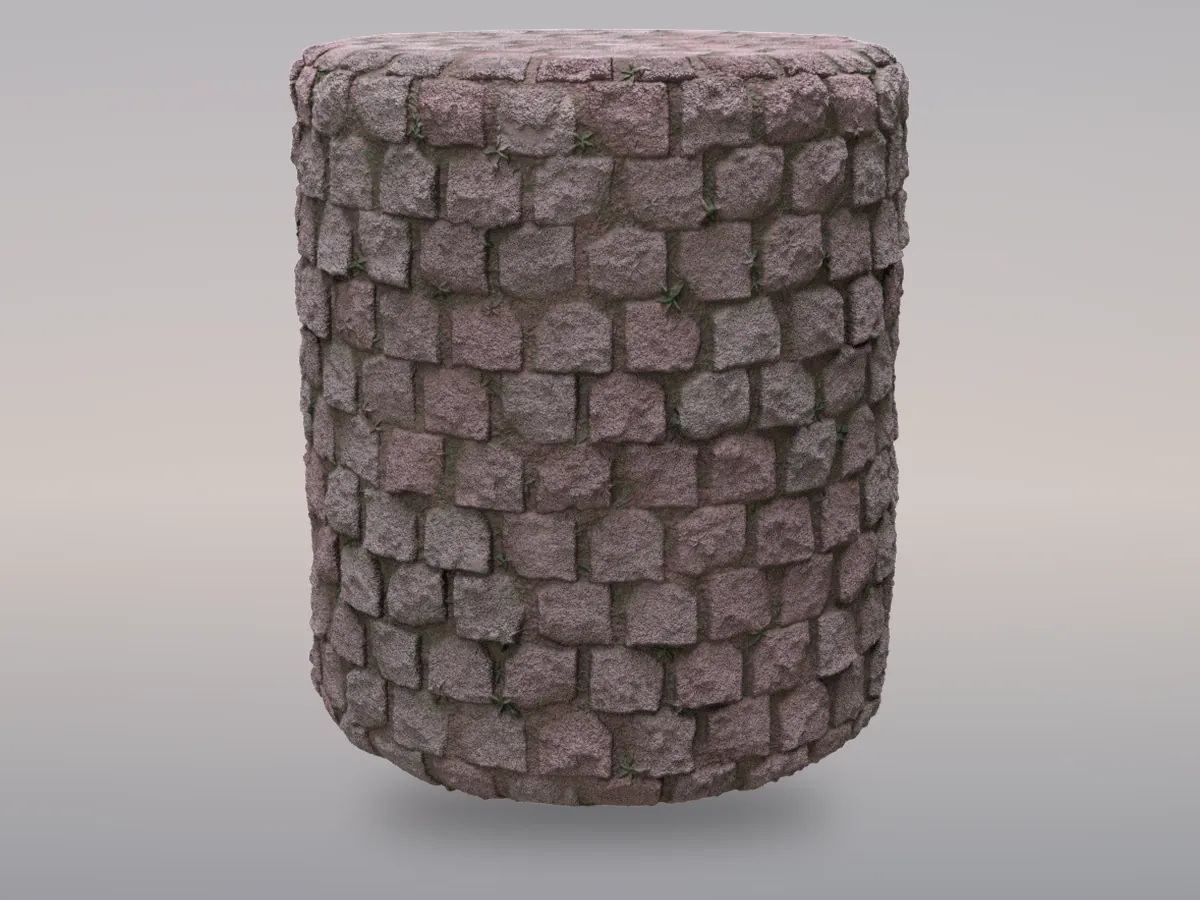
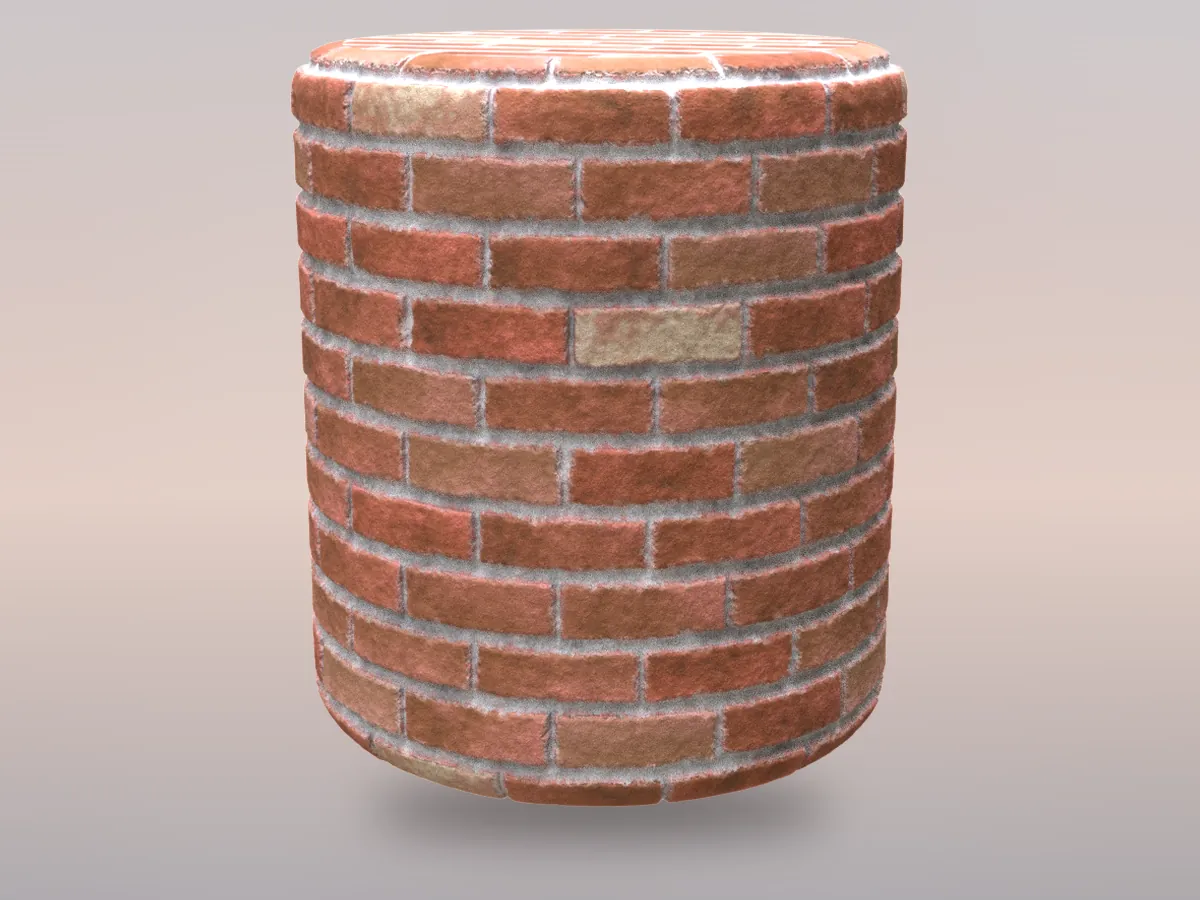
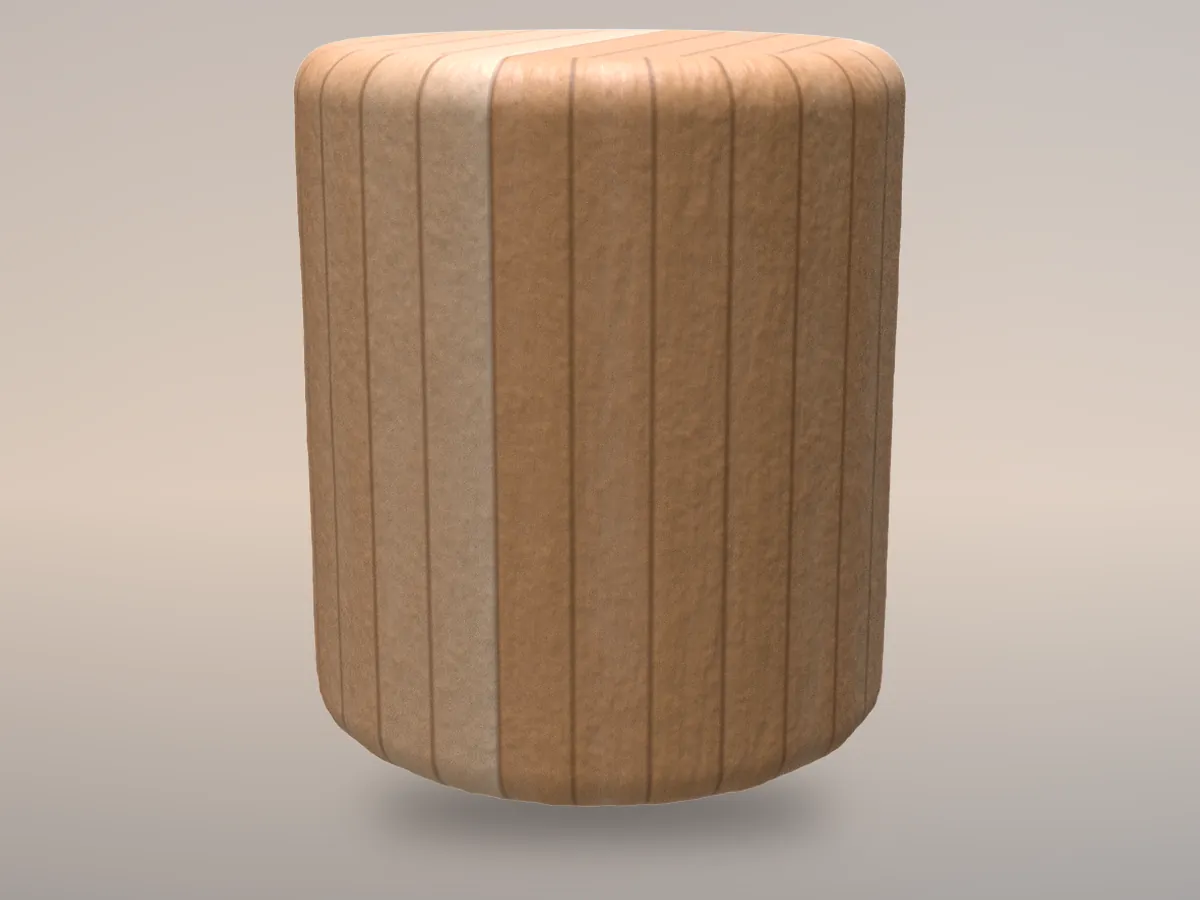
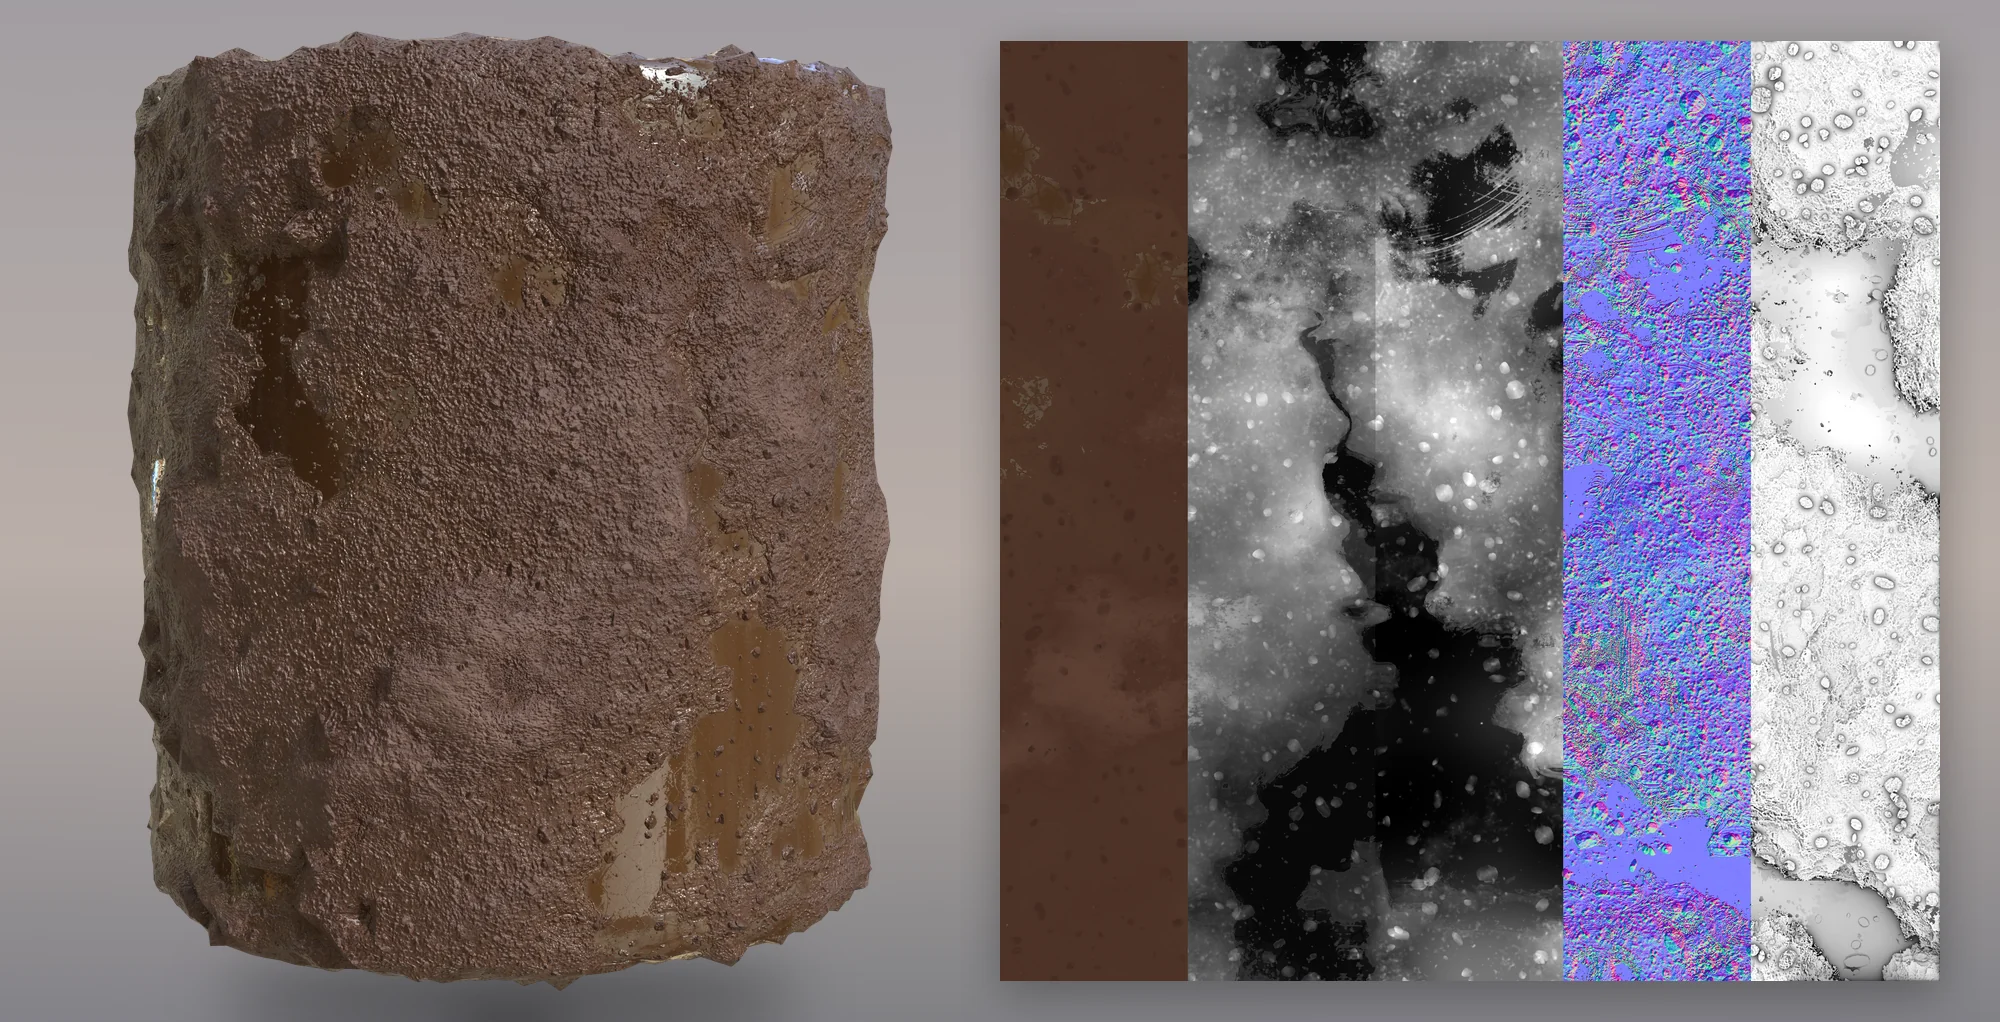
Iray renders from Substance Designer, next to the Base Color, Roughness, Height, Normal and AO maps.

Rock Path
Bricks
Wood
Mud

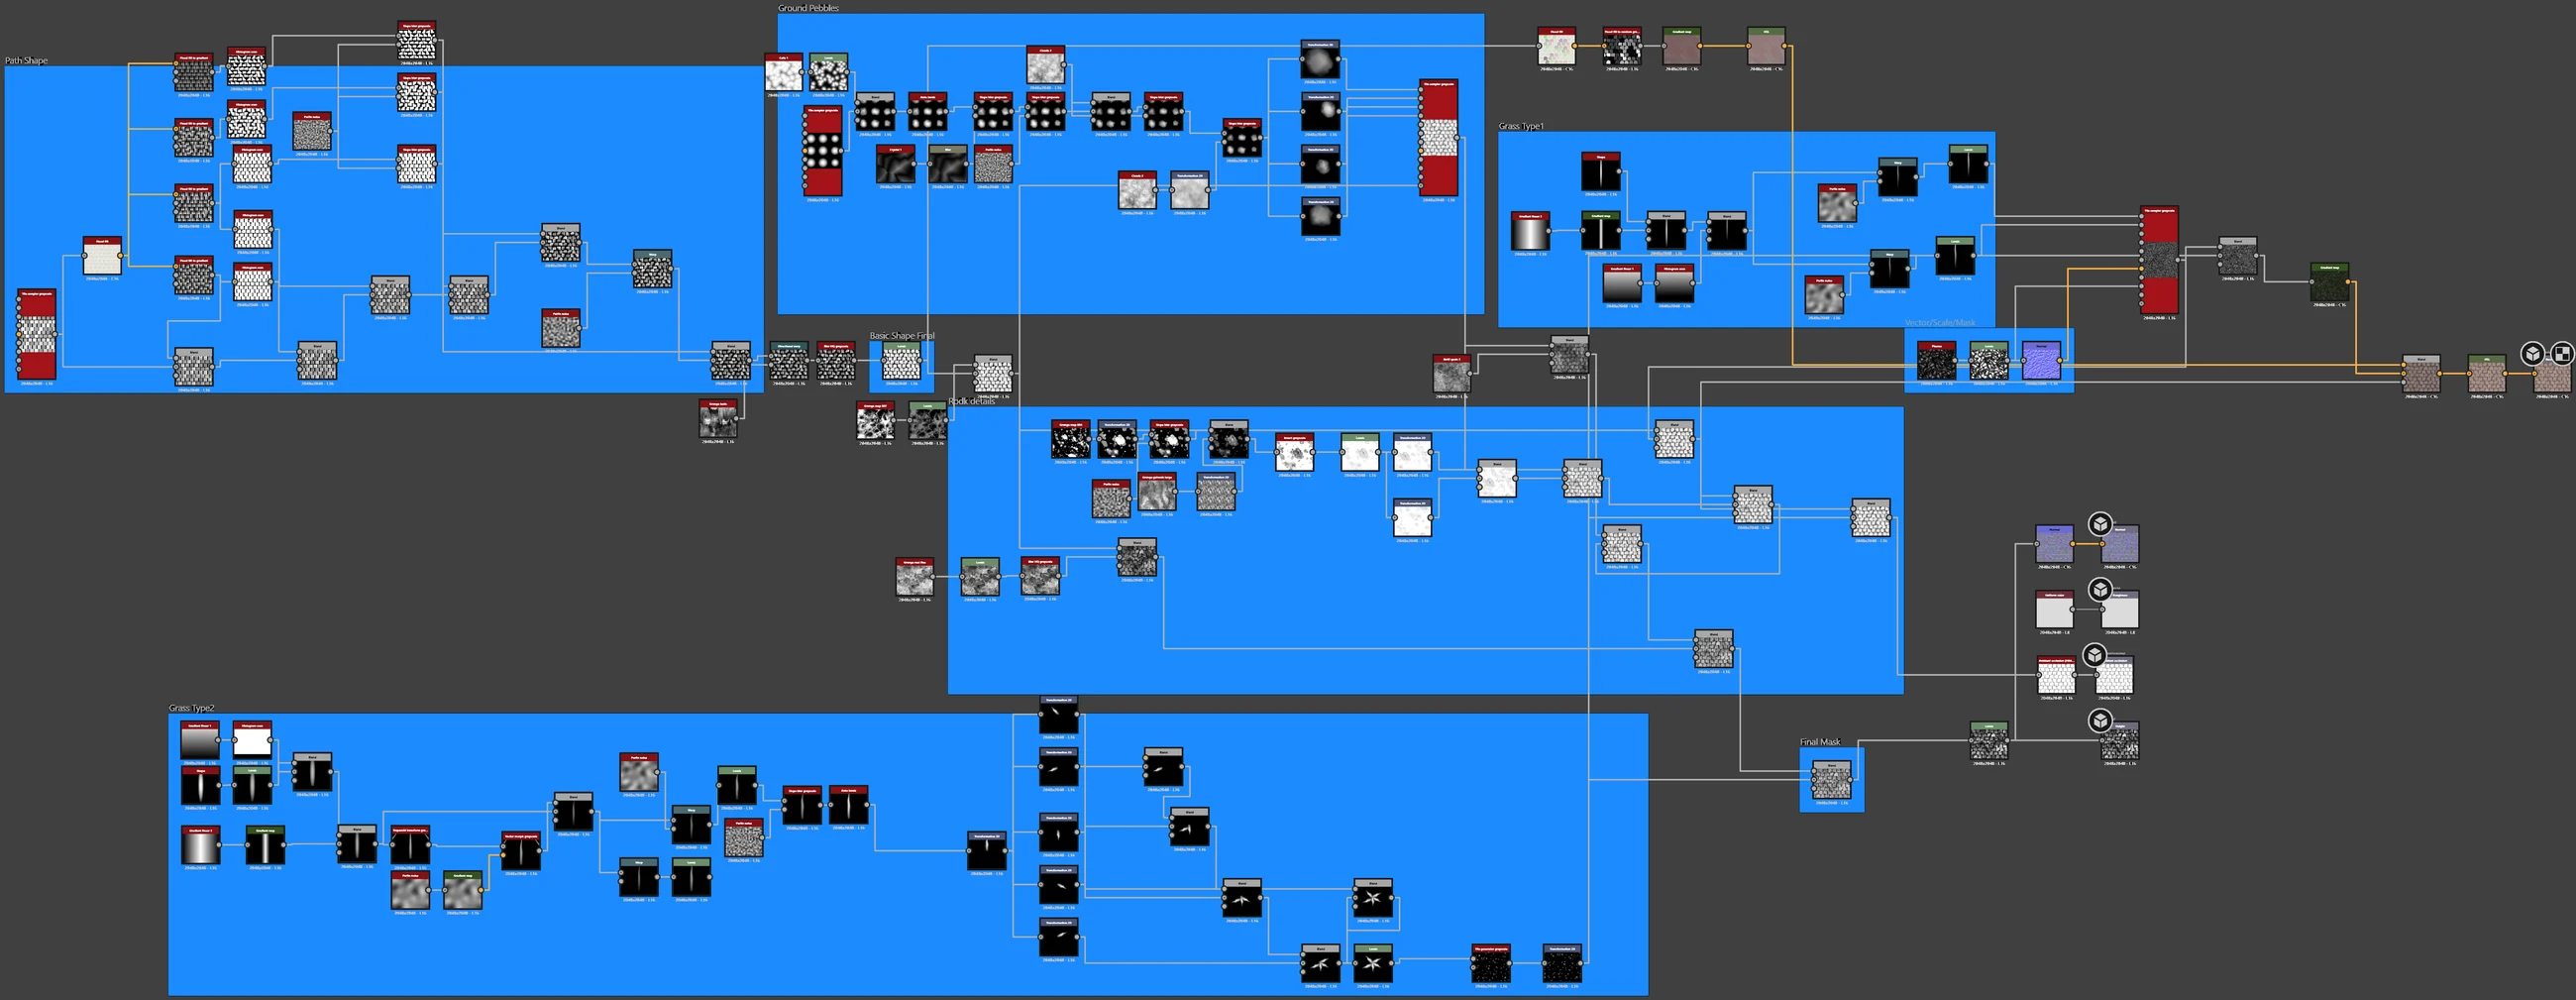
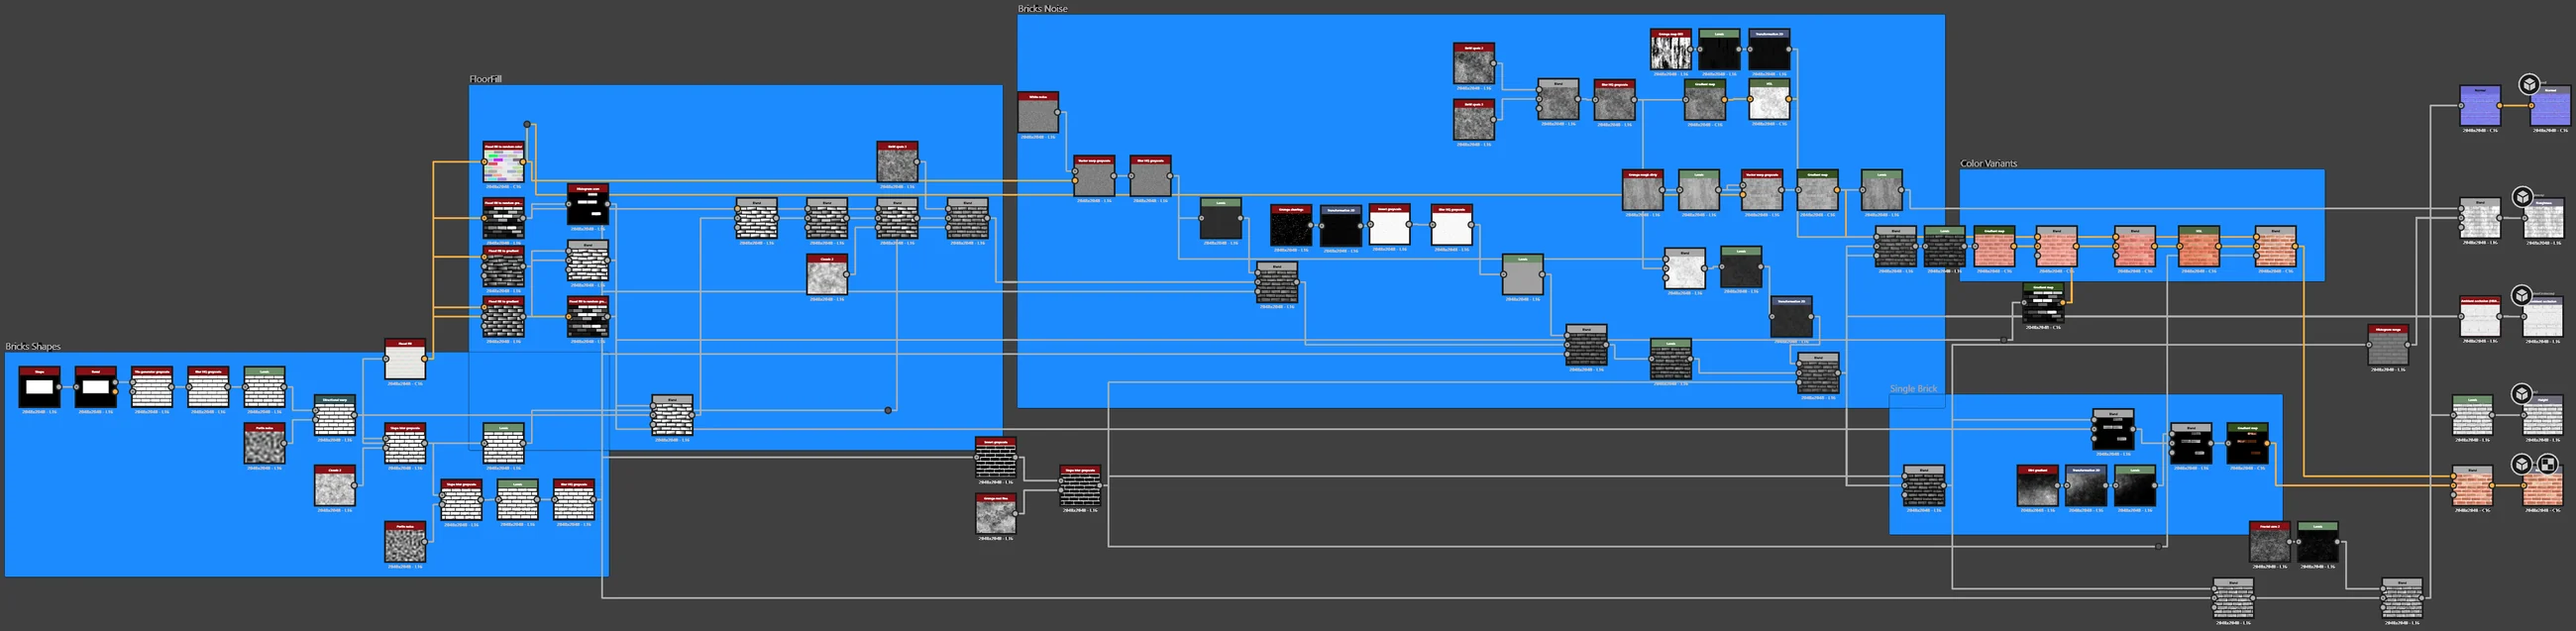
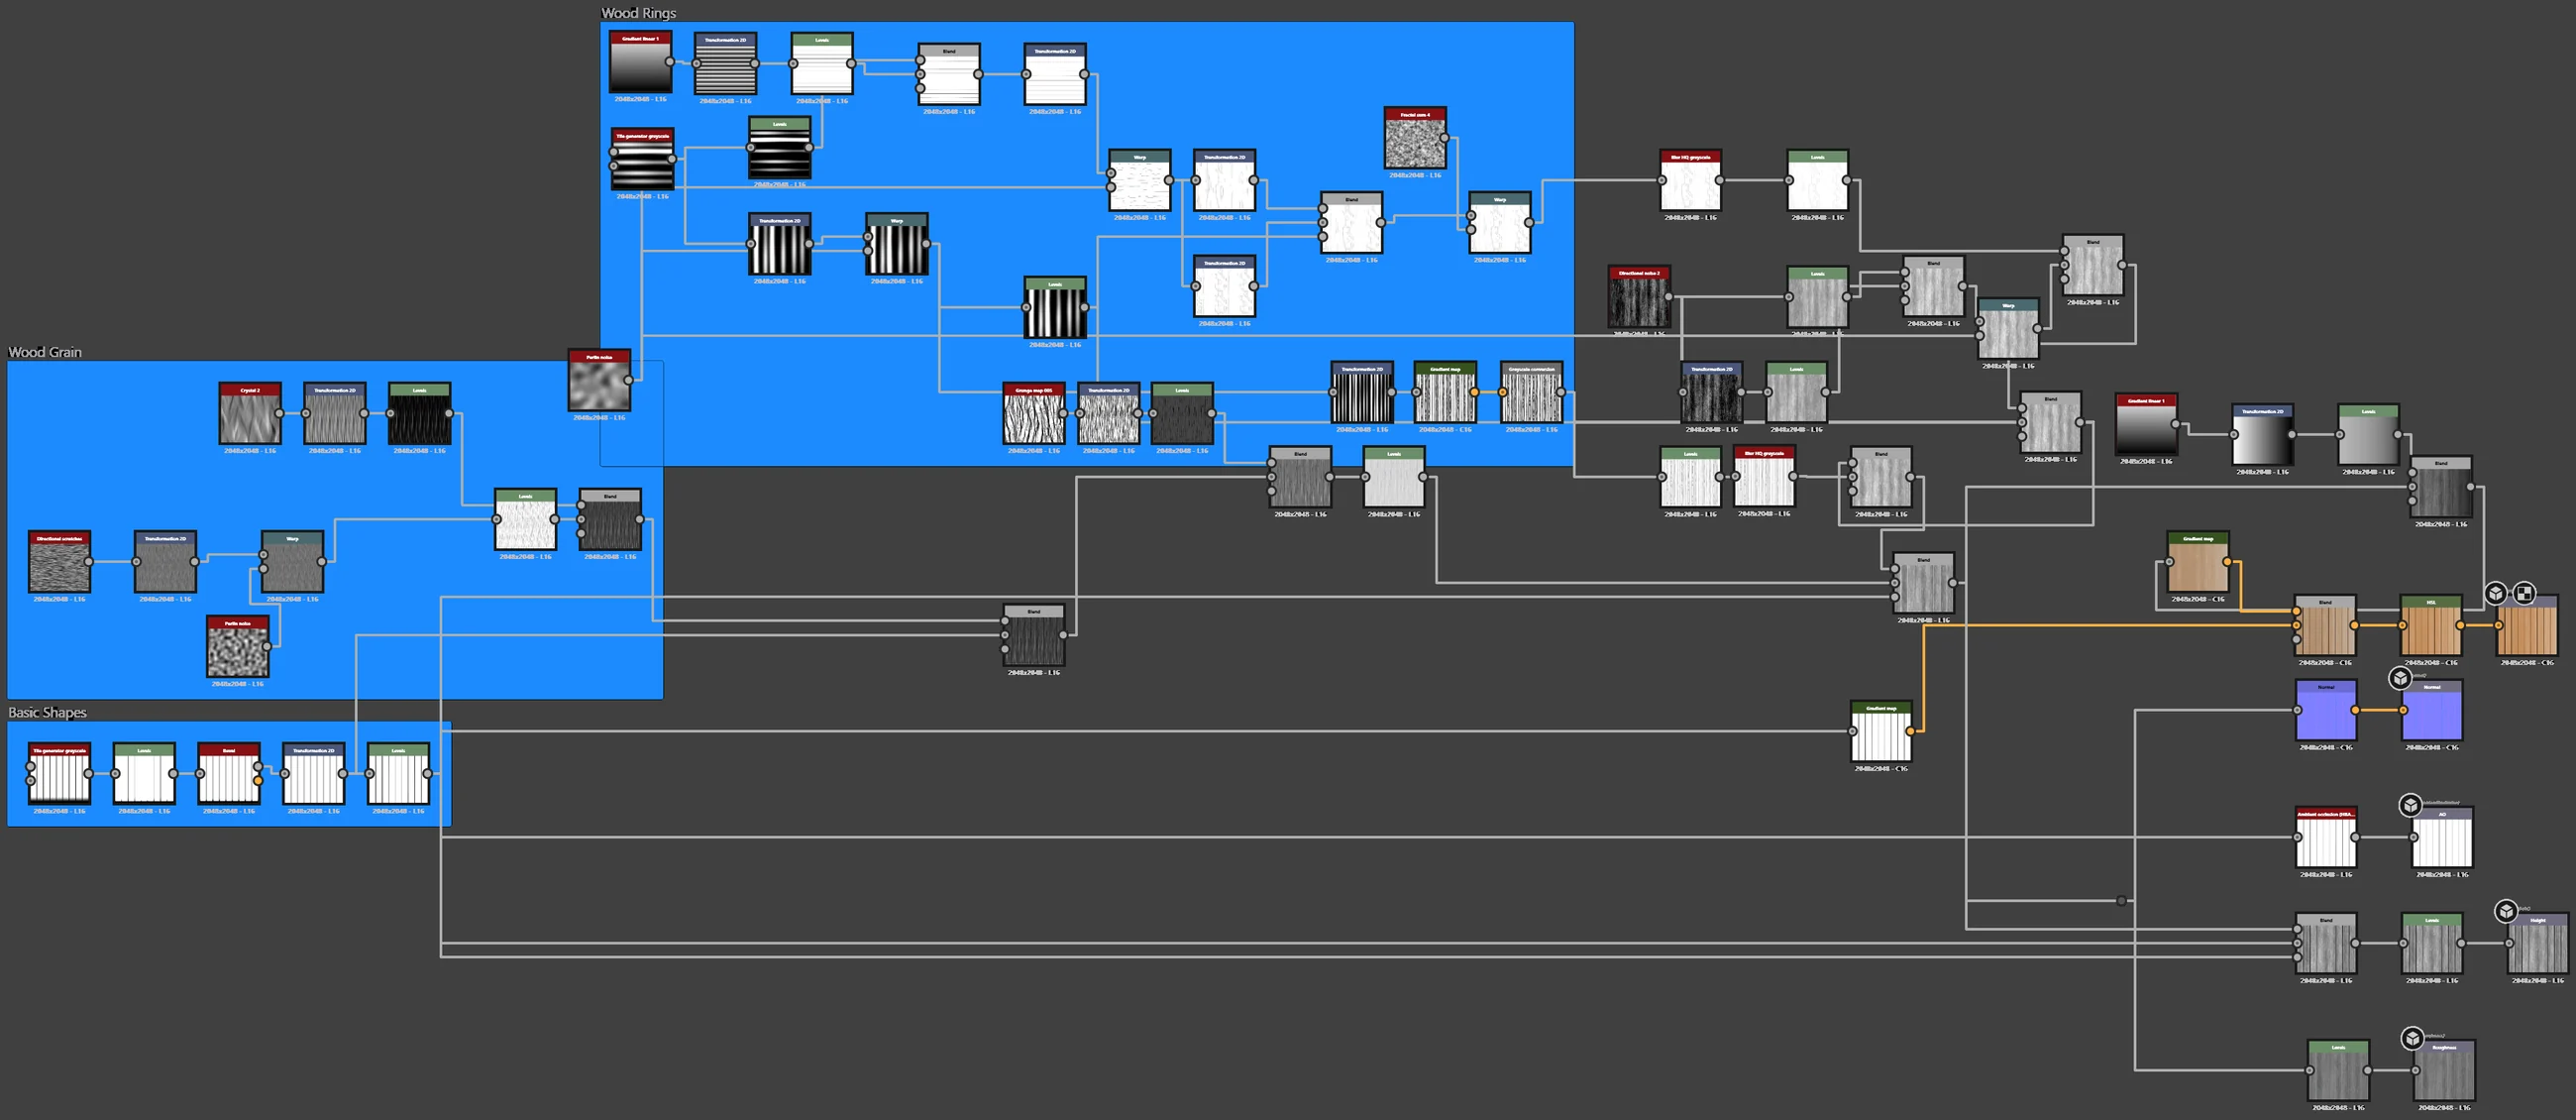
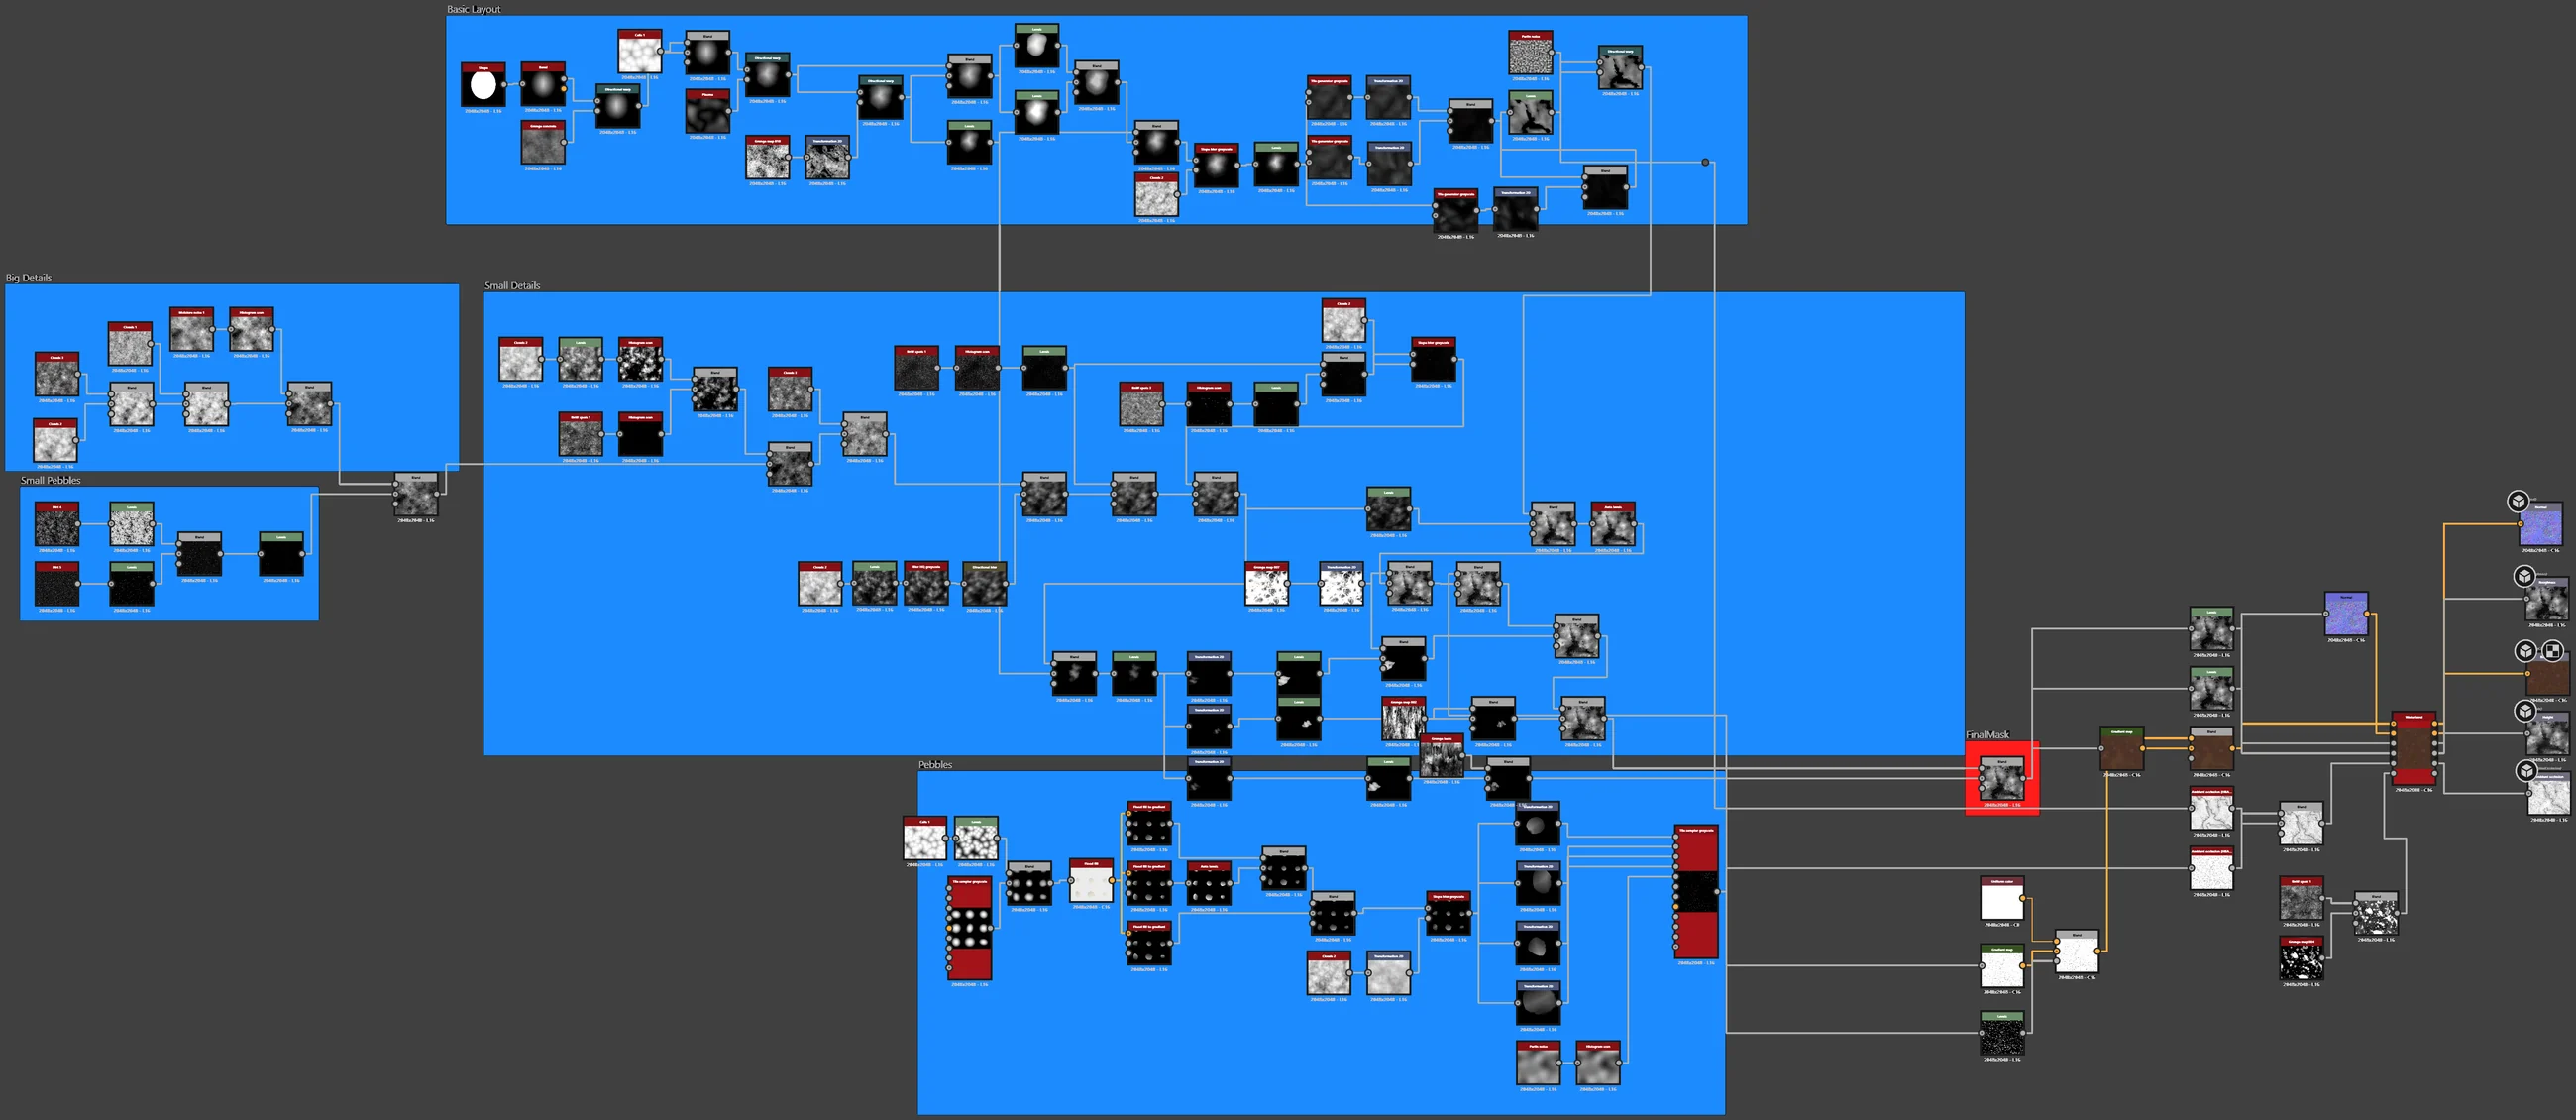
Node Graphs

Rock Path
Bricks
Wood
Mud

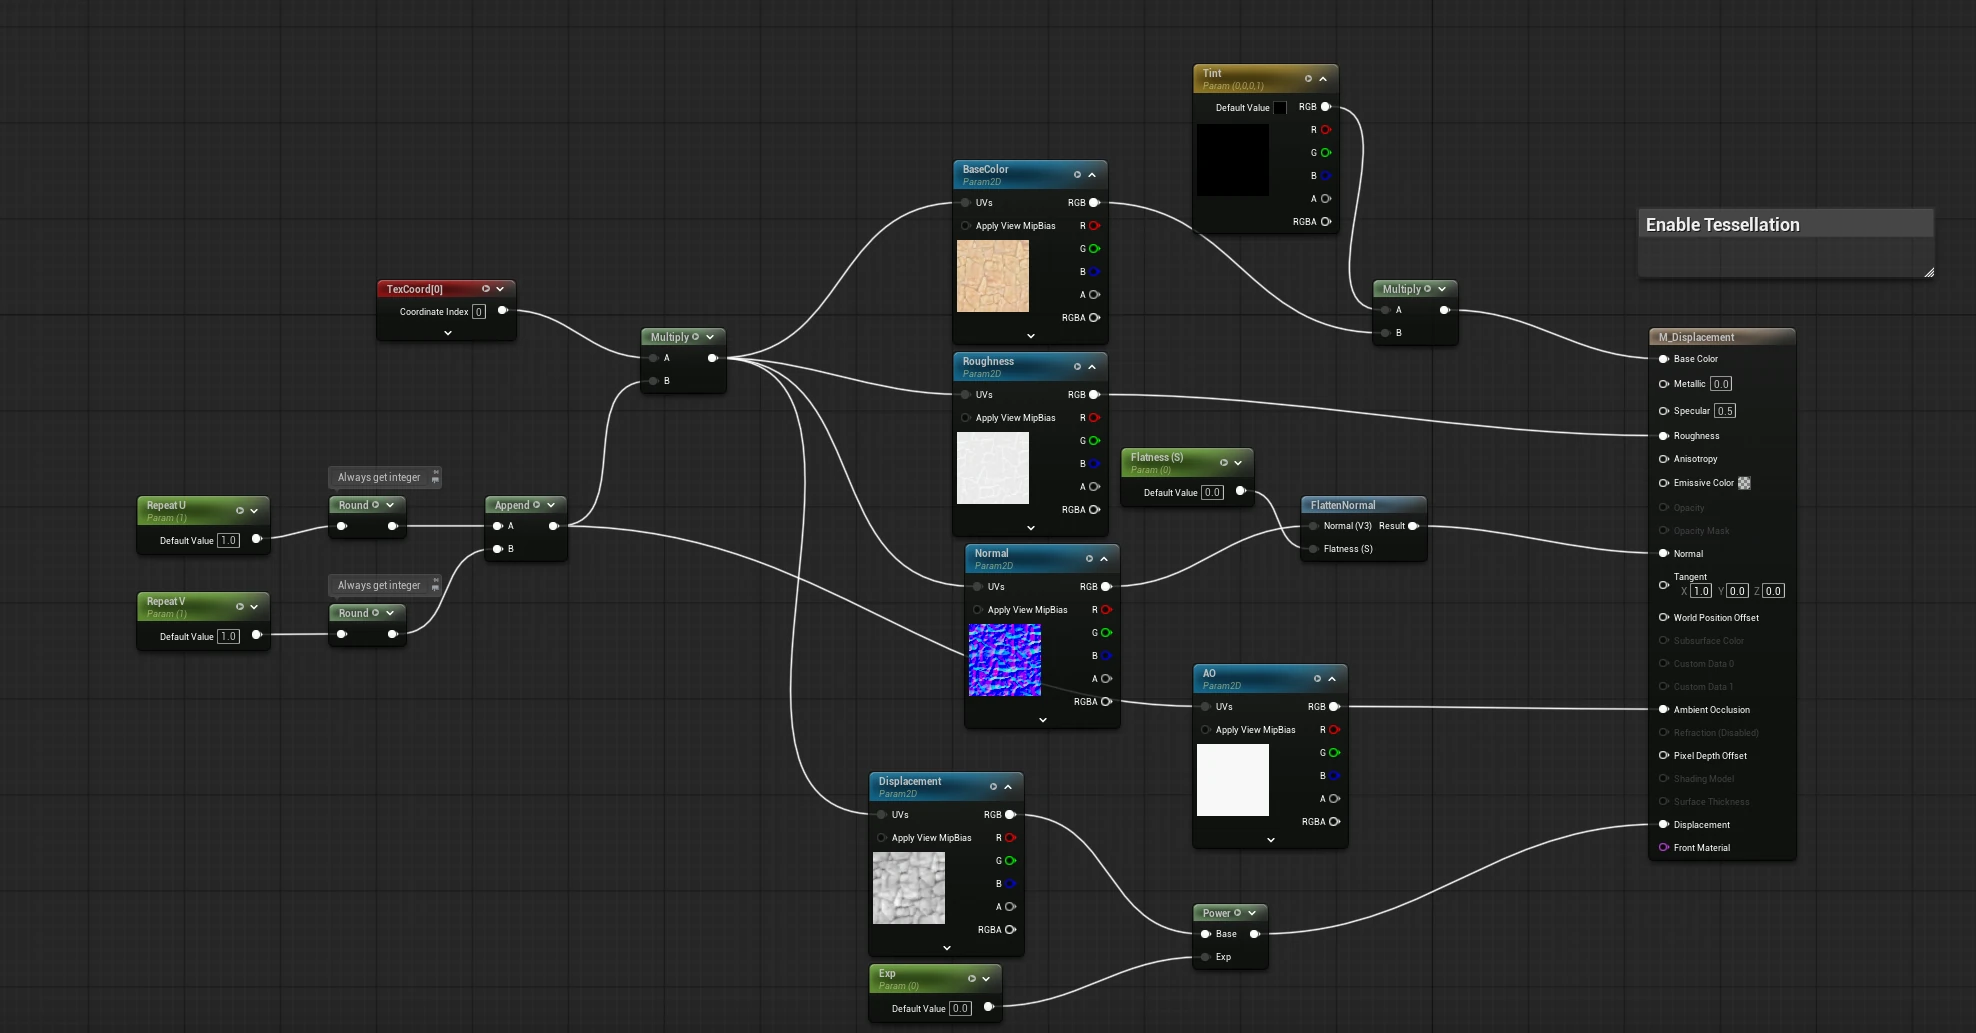
Unreal Material Setup

One master material drives all four materials — tiling is exposed as Repeat U / V, and every map plugs into the same graph. For real depth I tried two ways of pushing the geometry with the height map:

A

Nanite Tessellation

Real displacement: the Nanite mesh is tessellated on the GPU.

  1. Turn on Nanite Support on the mesh.
  2. In the material, tick Enable Tessellation under Nanite.
  3. Plug the height map into the Displacement pin and use Magnitude (with Center 0.5) to set how far it pushes.
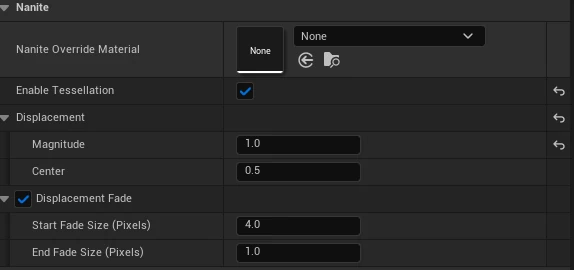
Nanite material settings
Displacement graph
Displacement graph
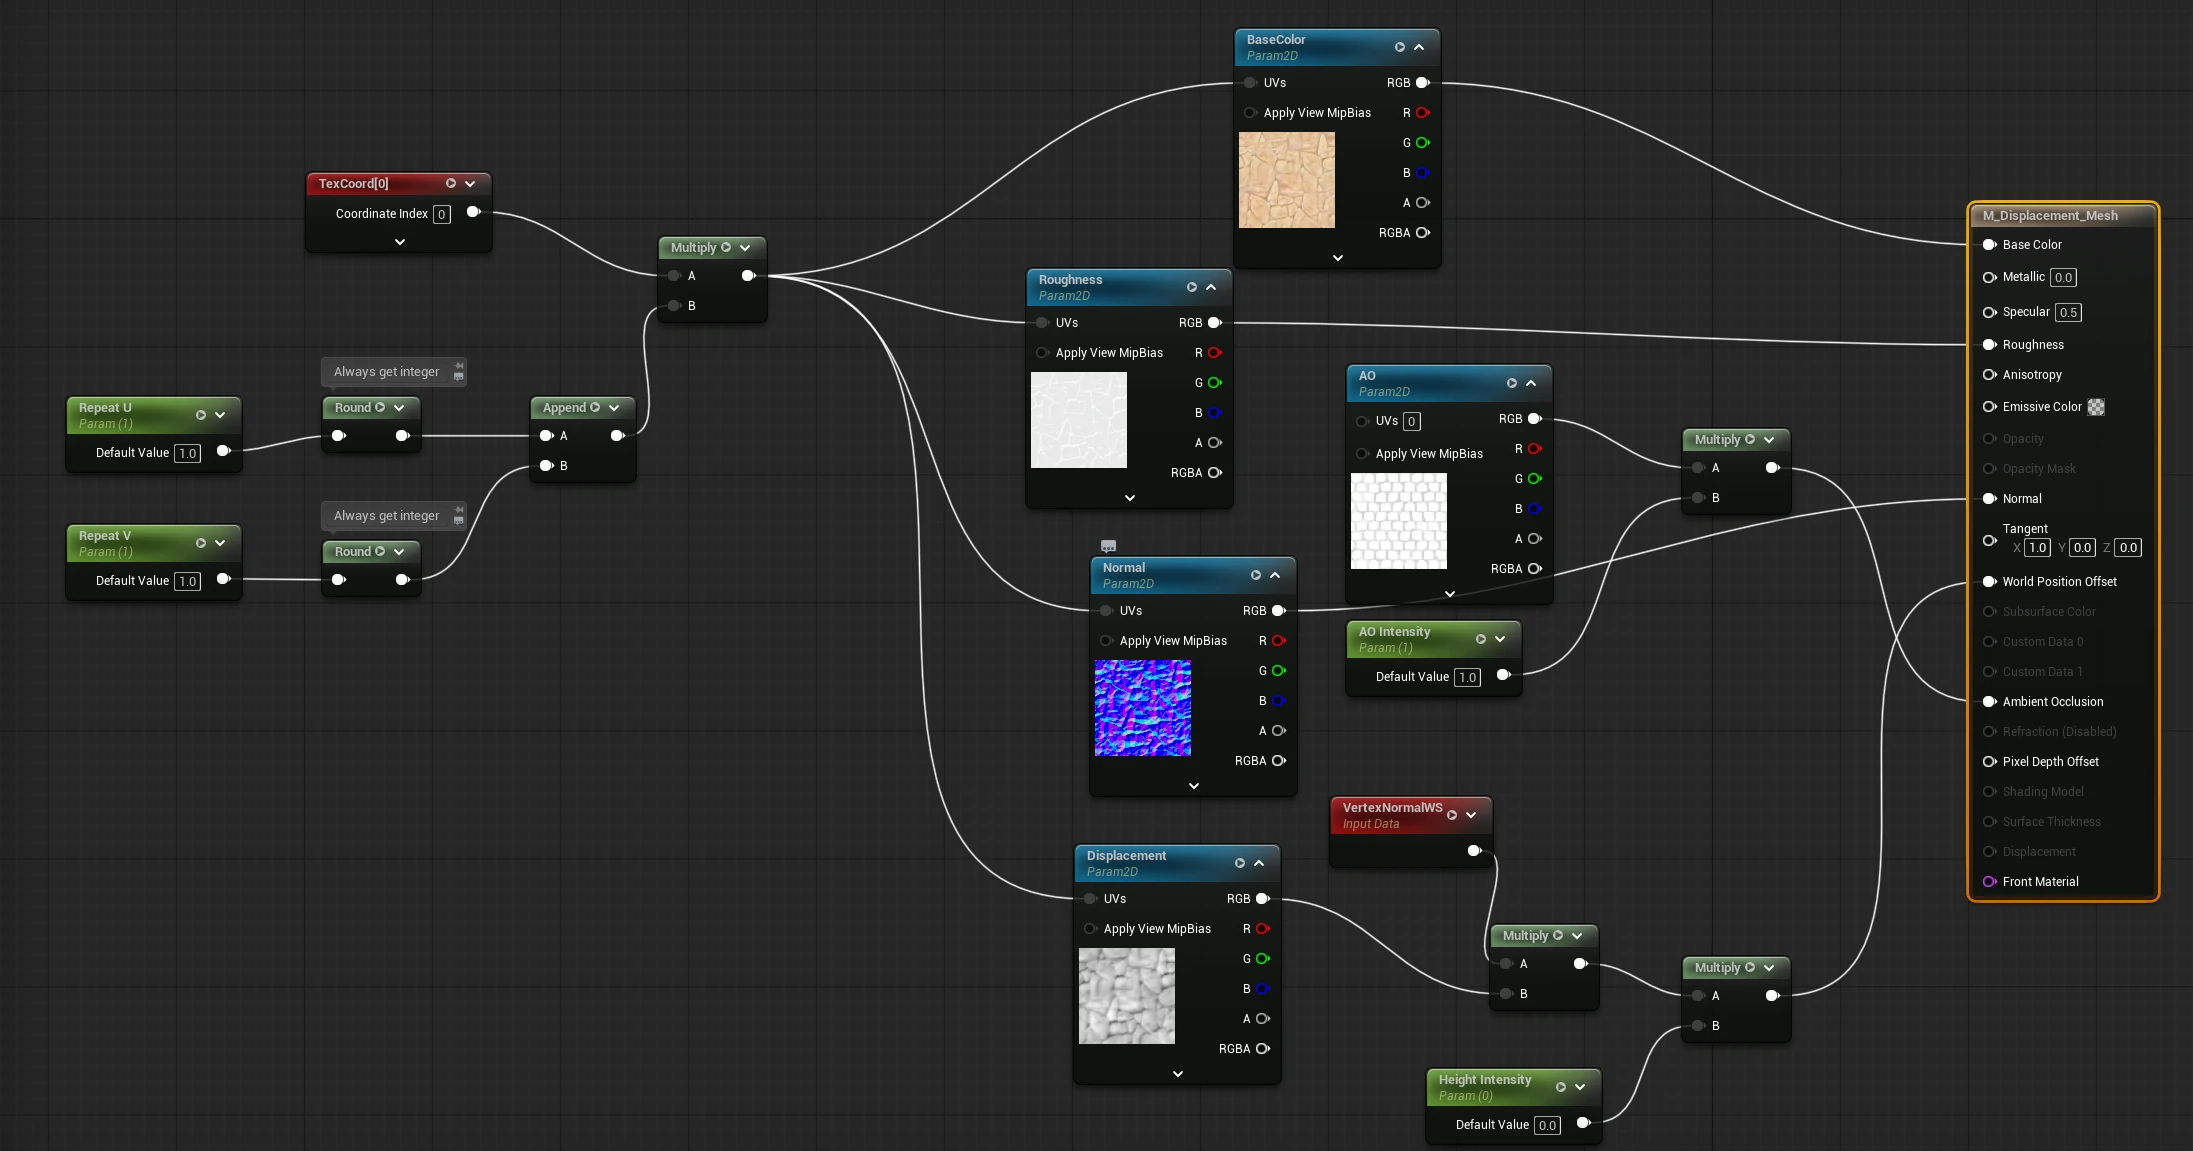
B

World Position Offset

Moves the vertices themselves: simple, but the mesh has to be dense.

  1. Multiply the height map by VertexNormalWS and a Height Intensity parameter.
  2. Connect the result to World Position Offset.
  3. The mesh has to be subdivided first — without enough vertices the shape can't change.
World Position Offset graph

HDRI Lighting in Unreal

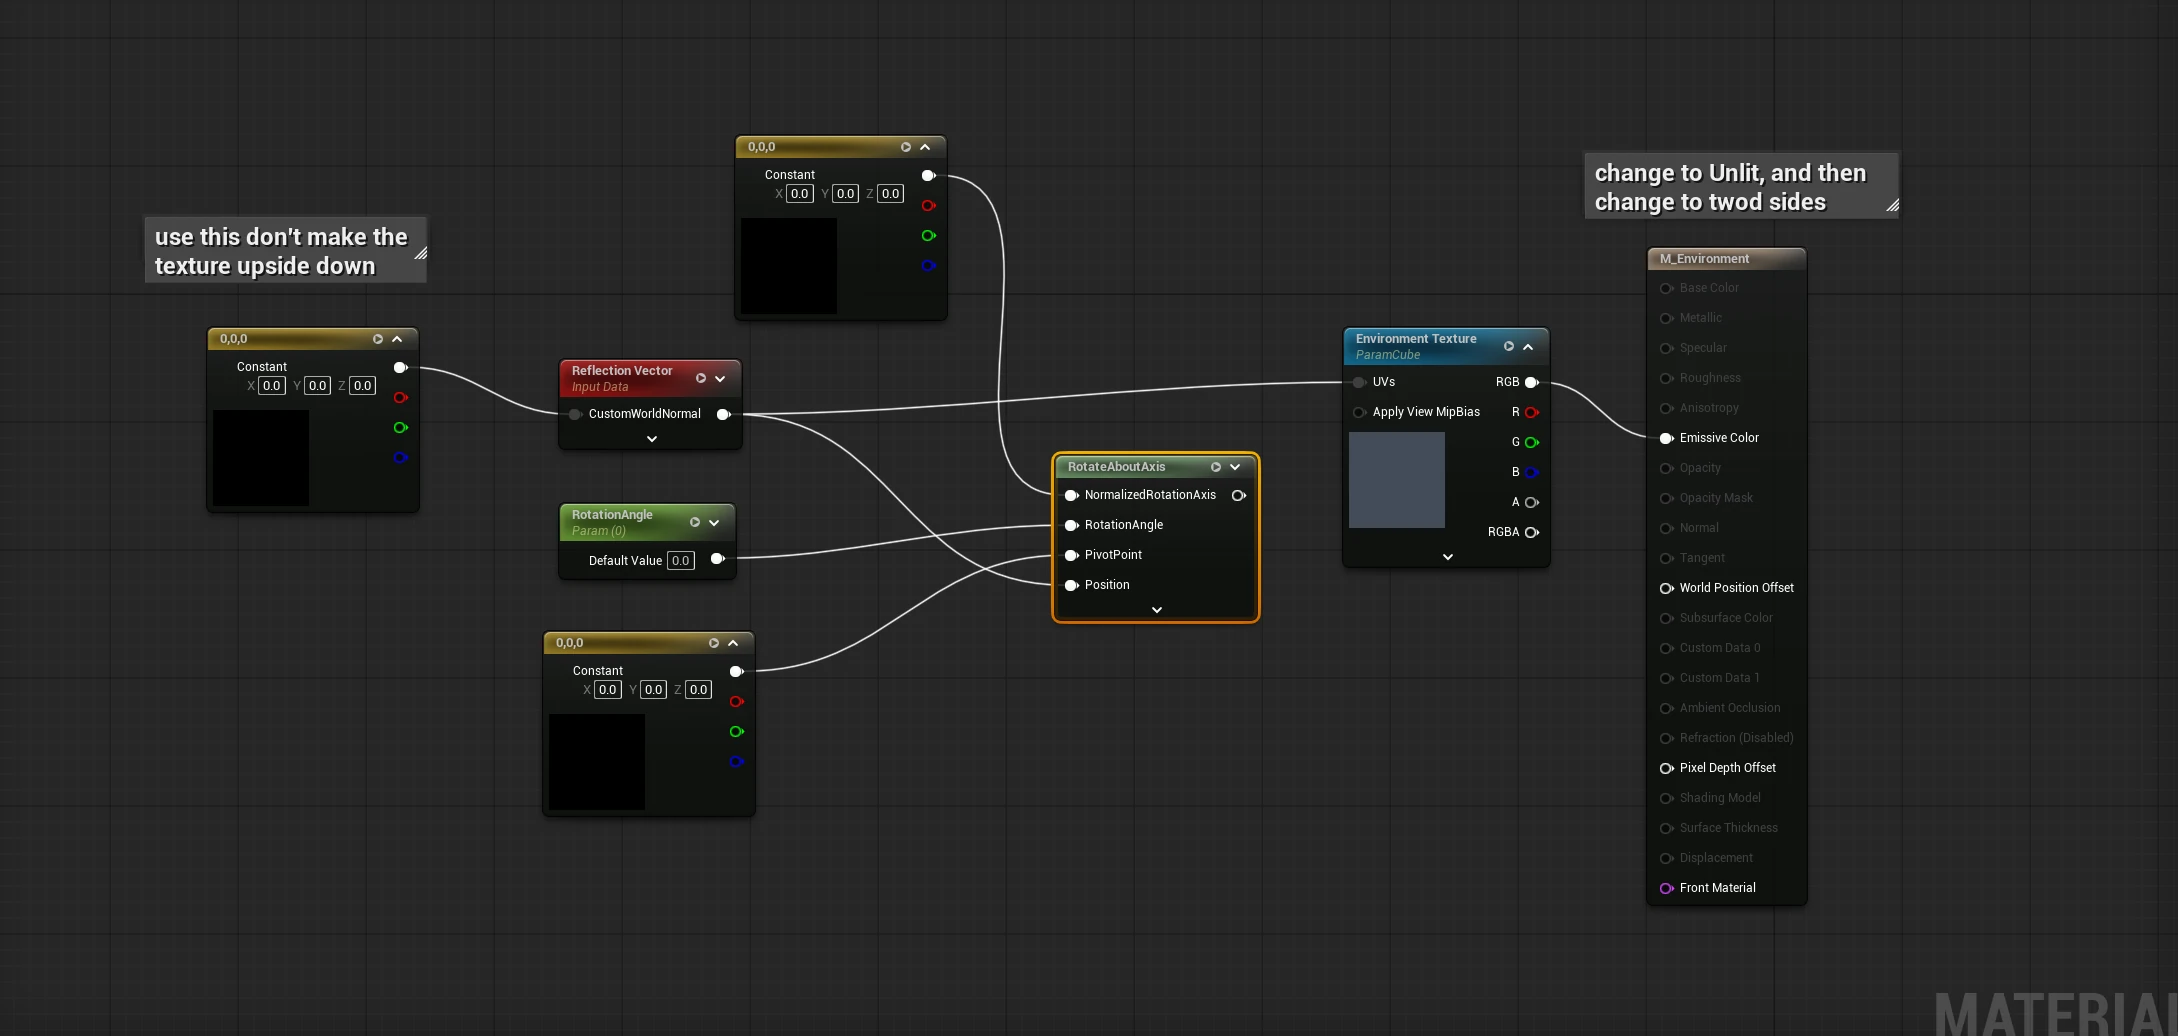
Environment sphere
01

Environment sphere

Create a sphere and an environment material — Reflection Vector into Rotate About Axis drives the HDRI texture into Emissive, set to Unlit and Two Sided.

Sky Light
02

Sky Light

Change the Sky Light's Source Type to SLS Specified Cubemap and pick the HDR texture you chose as the cubemap.

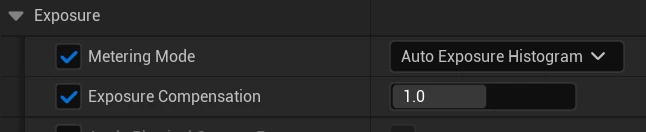
Exposure
03

Exposure

Add a Post Process Volume and set the exposure.

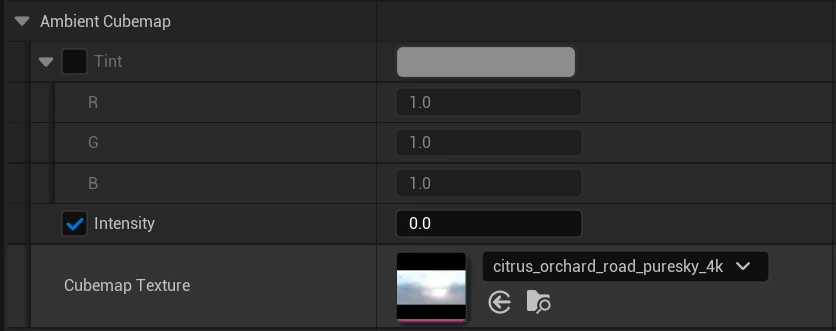
Ambient Cubemap
04

Ambient Cubemap

In the same volume, assign the HDRI as the Ambient Cubemap.